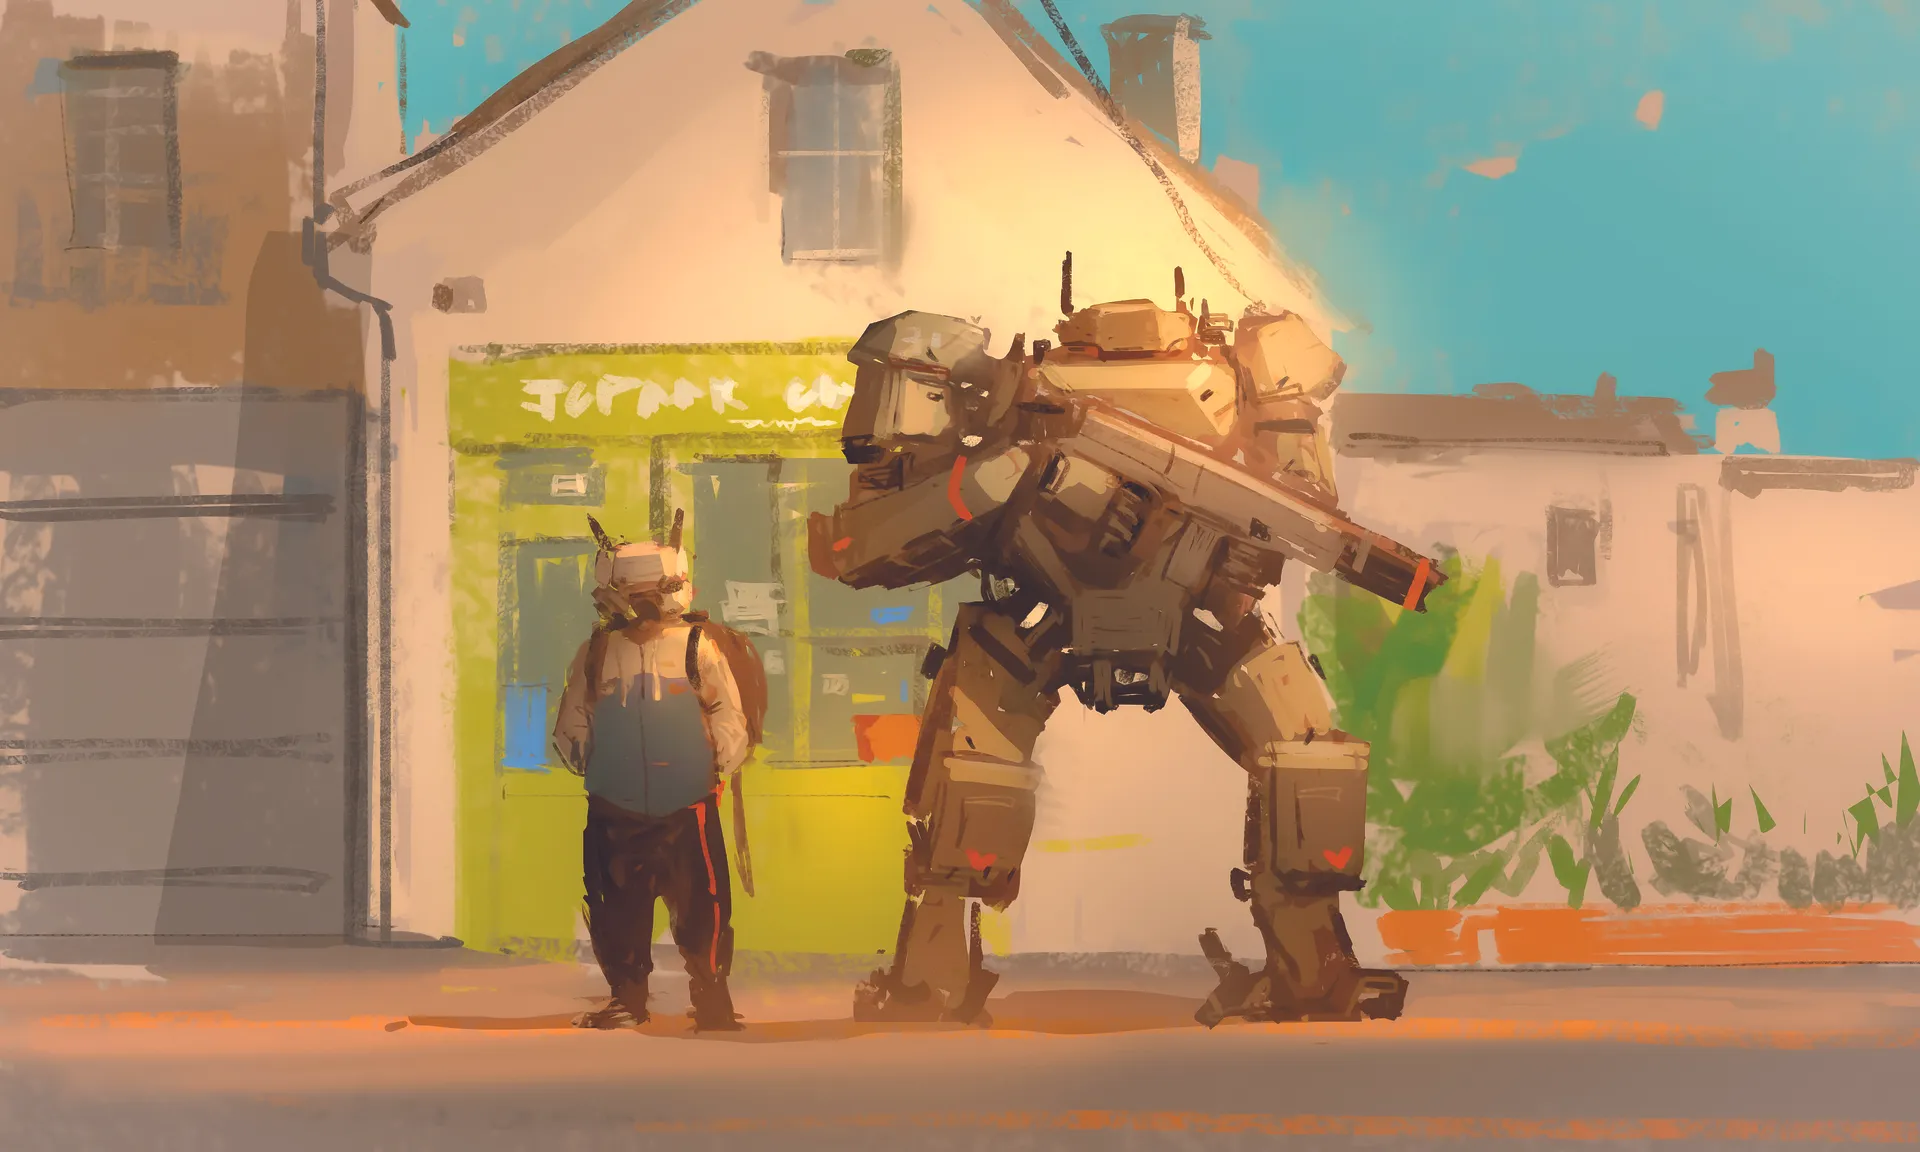
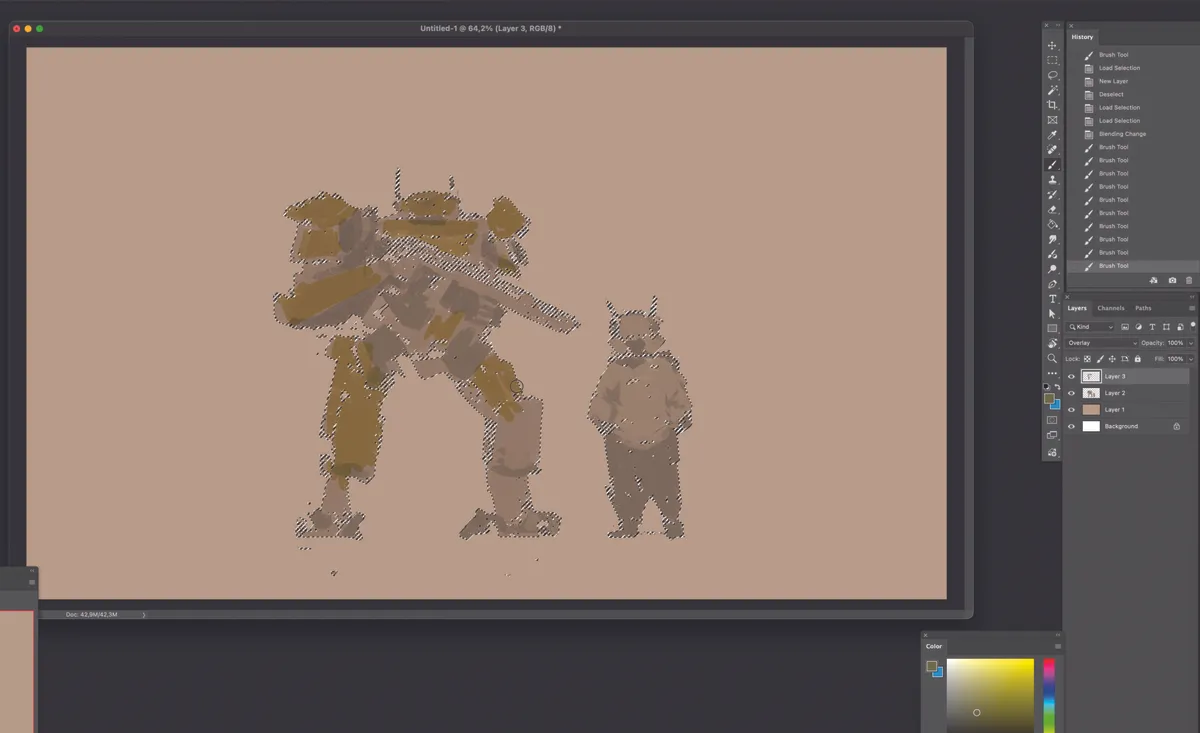
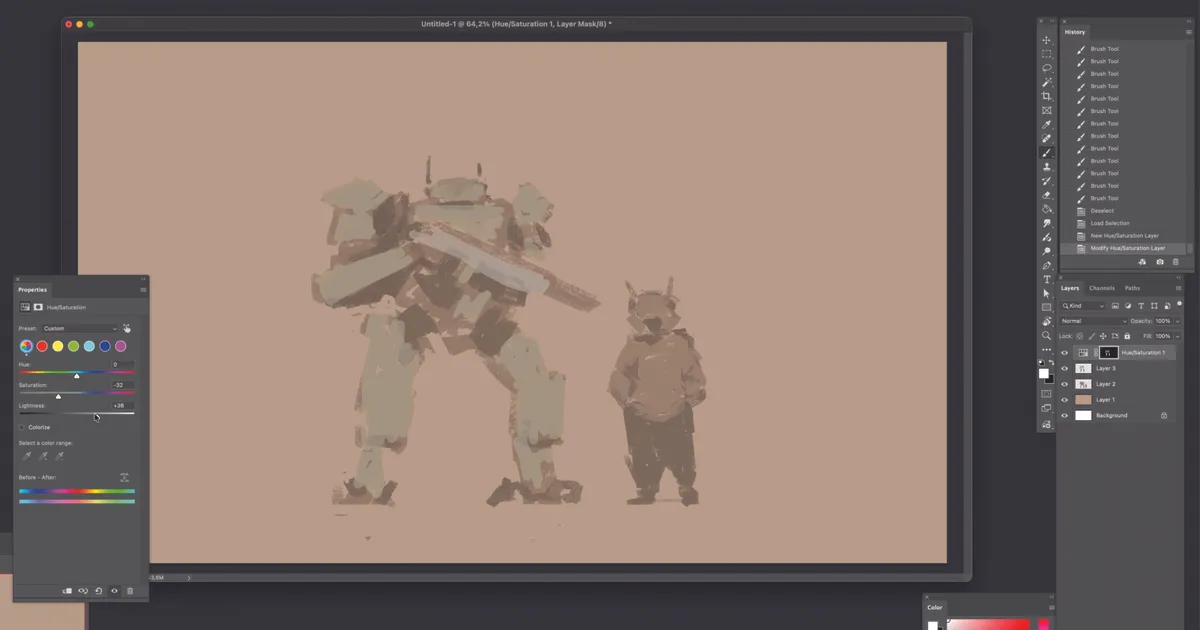
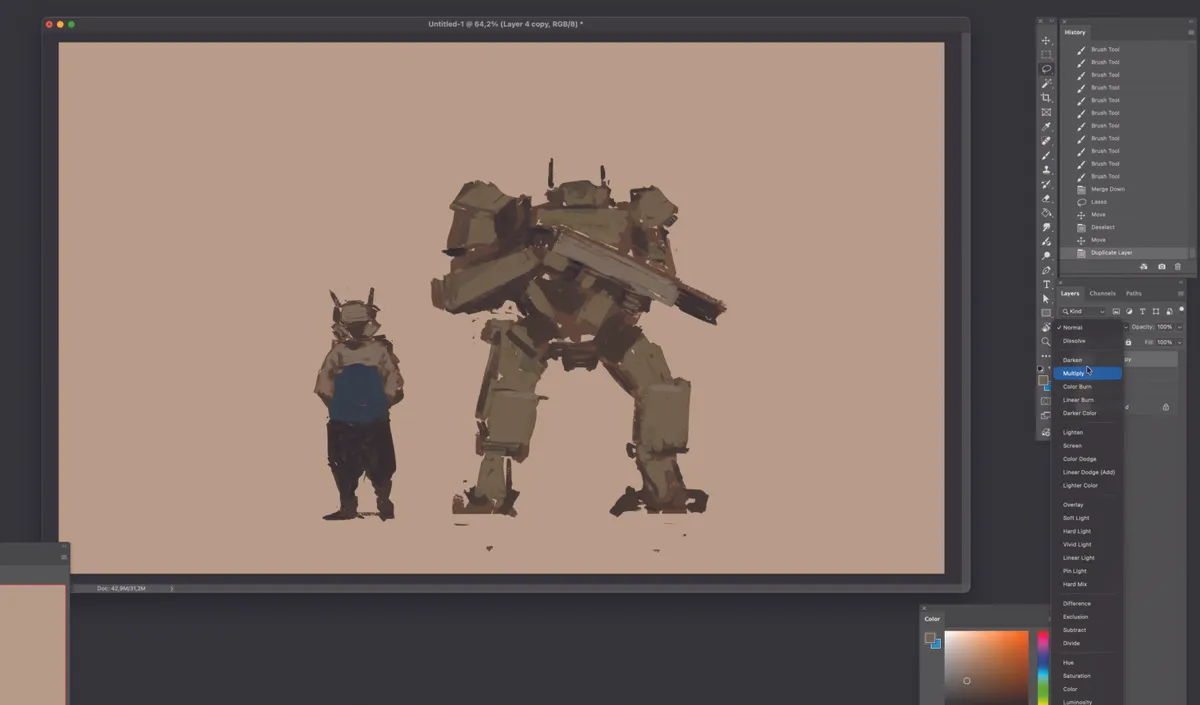
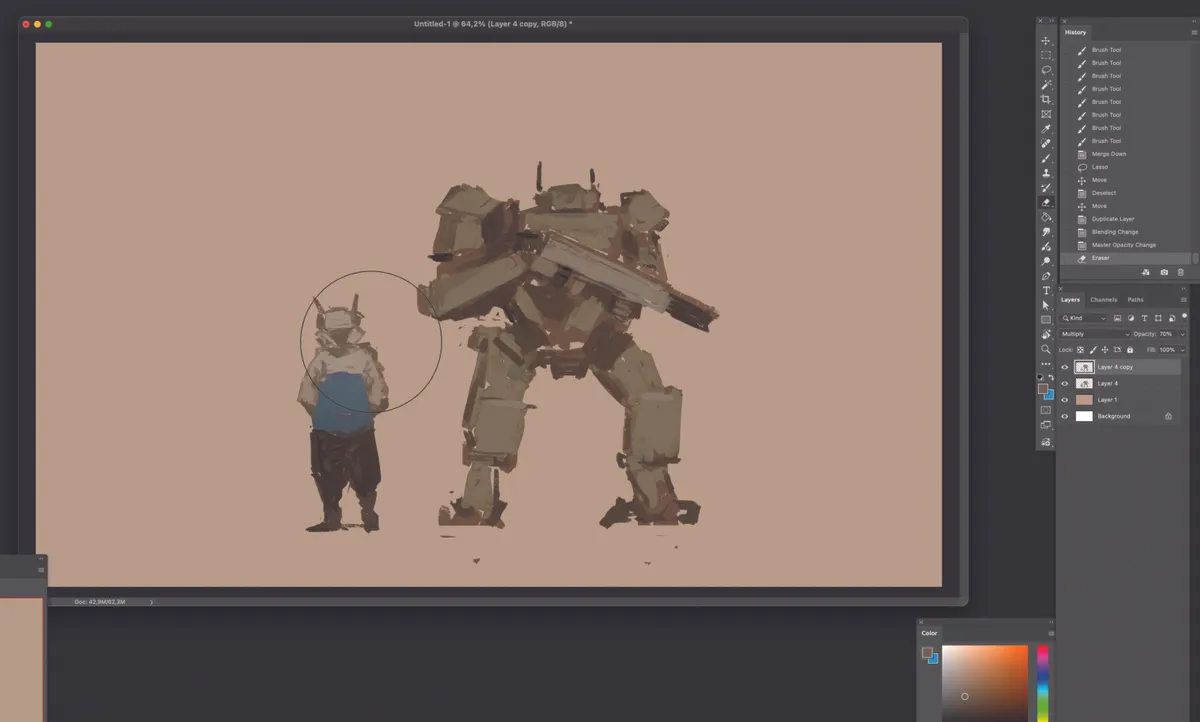
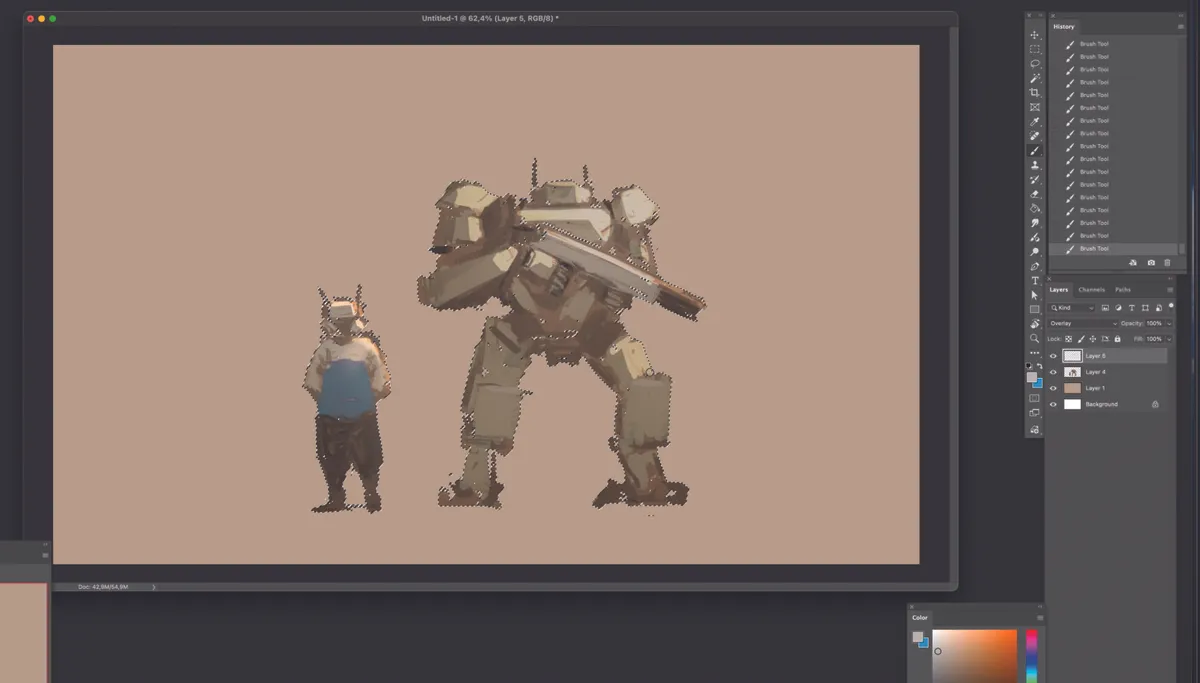
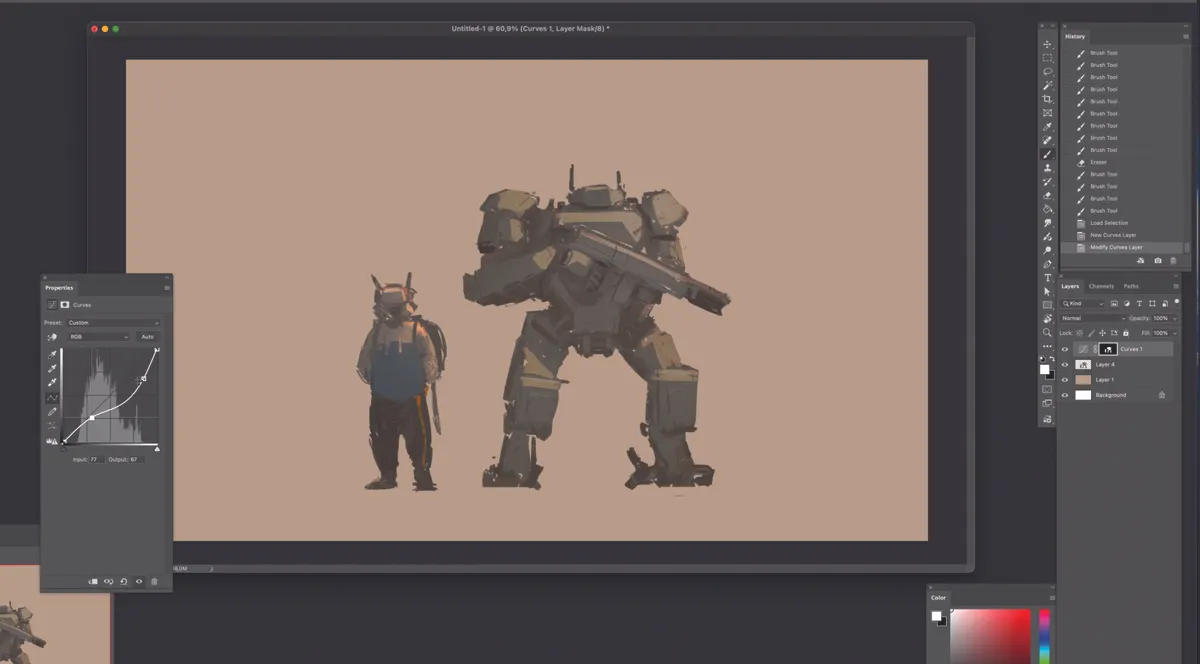
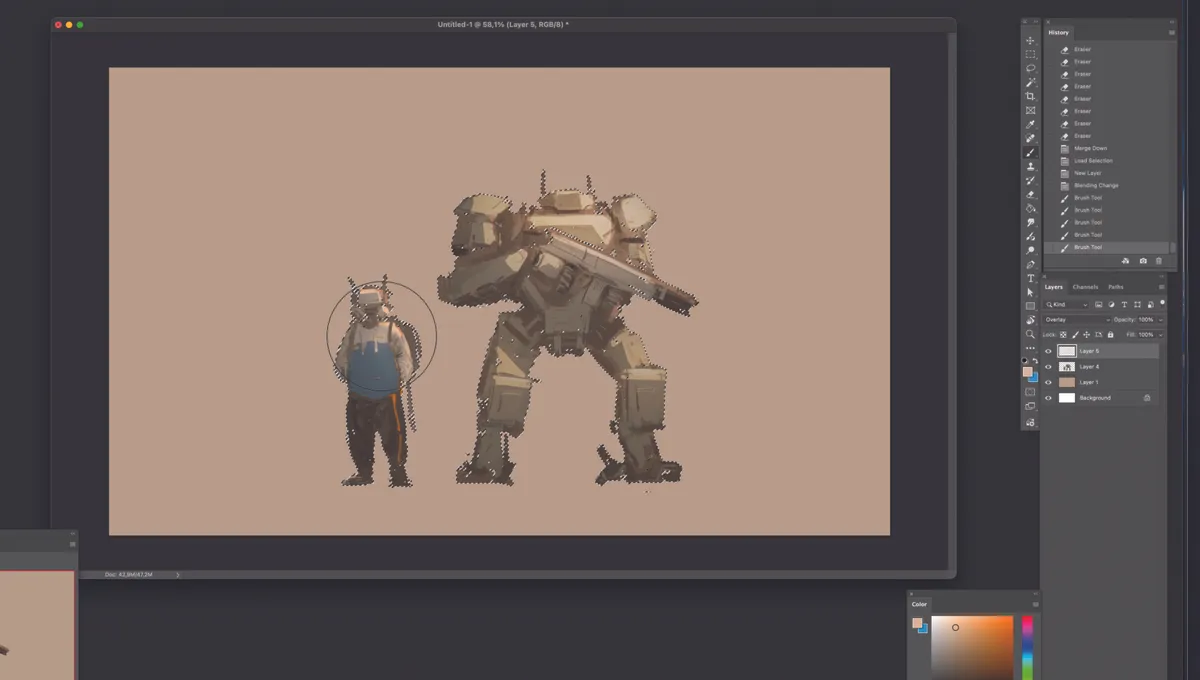
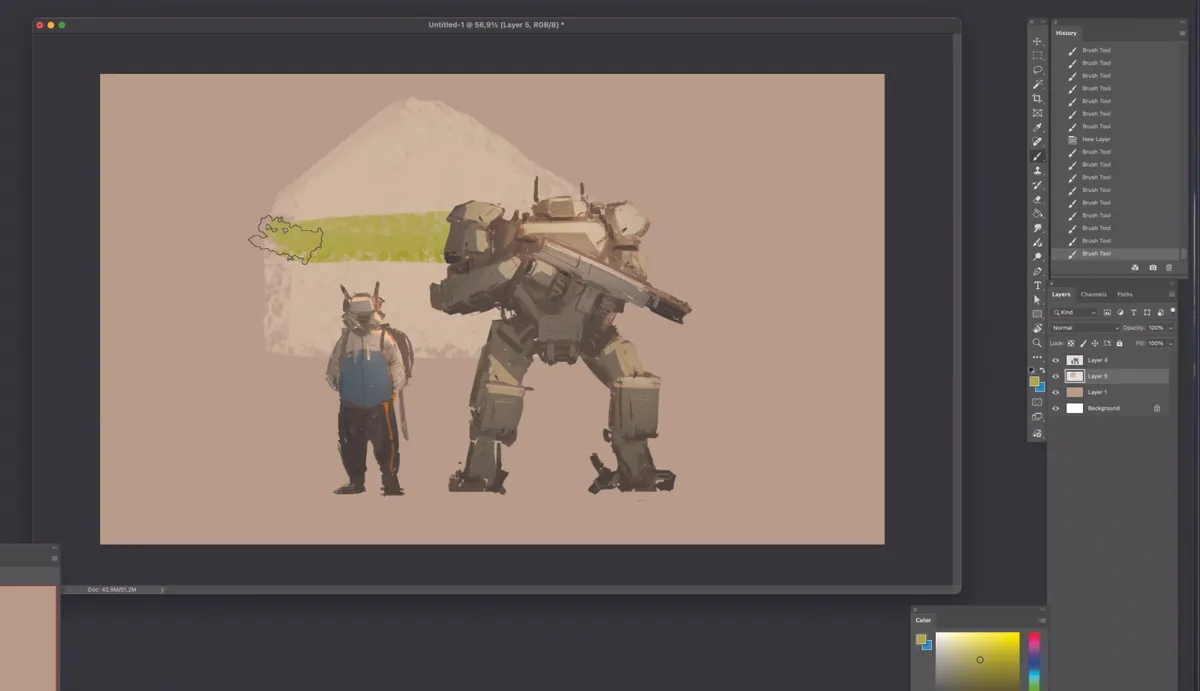
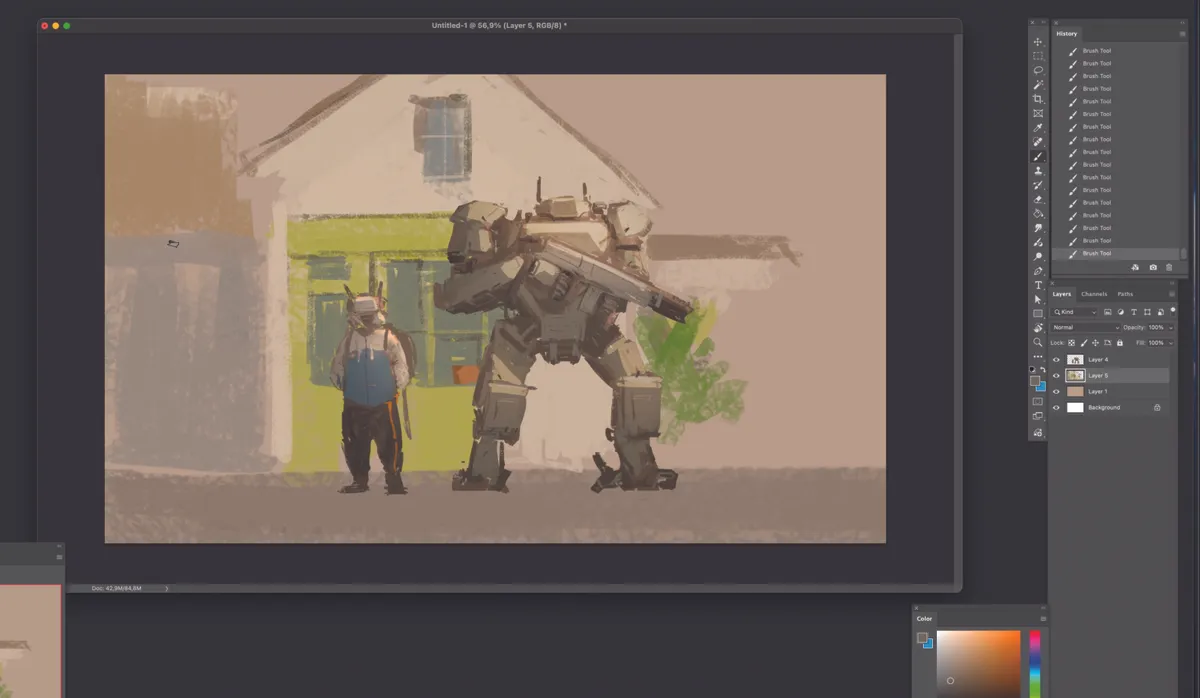
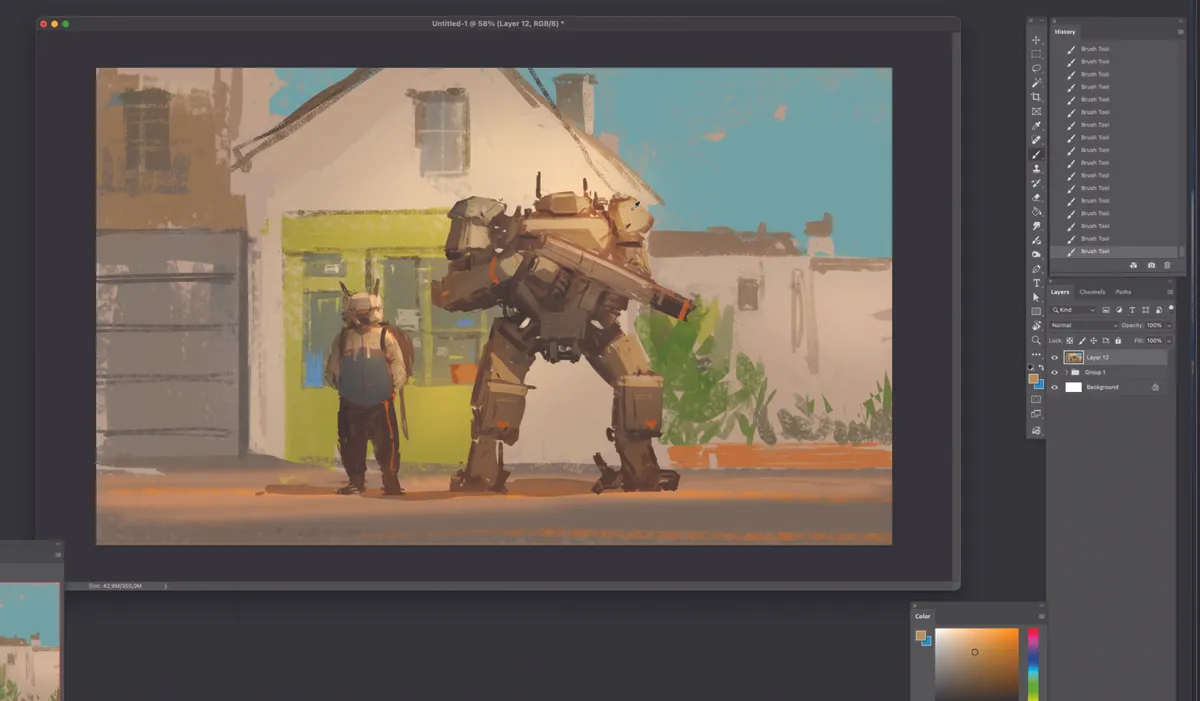
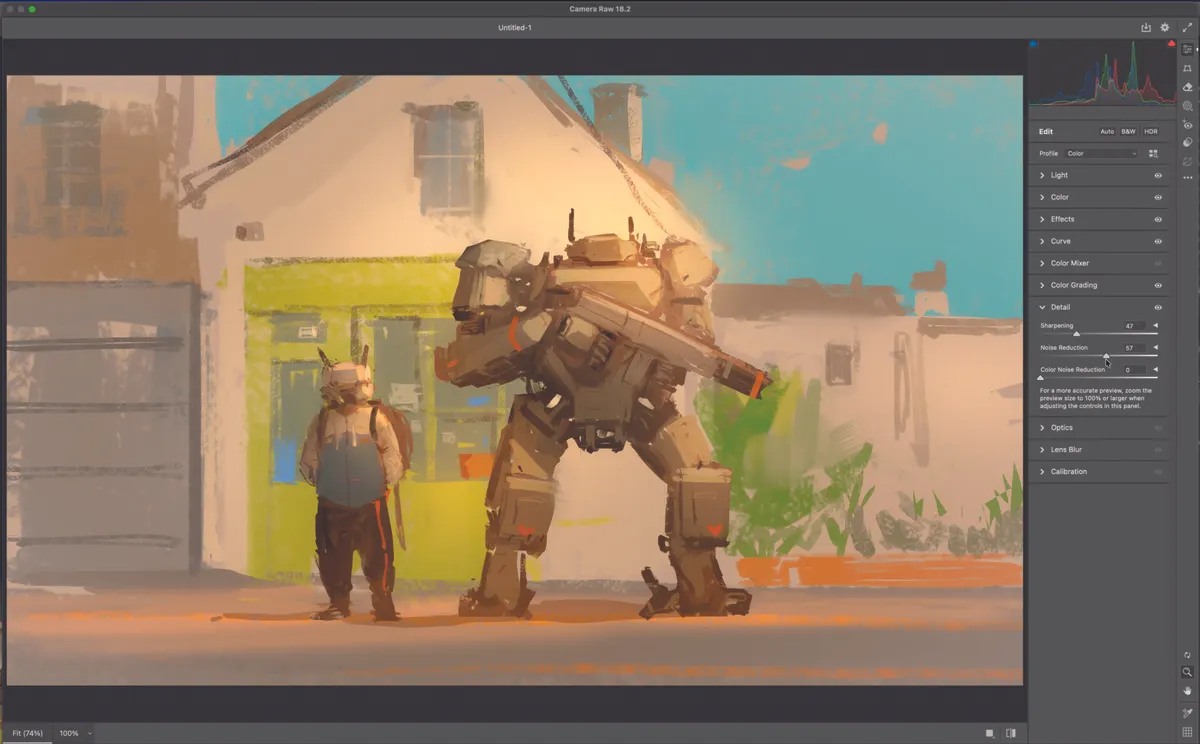
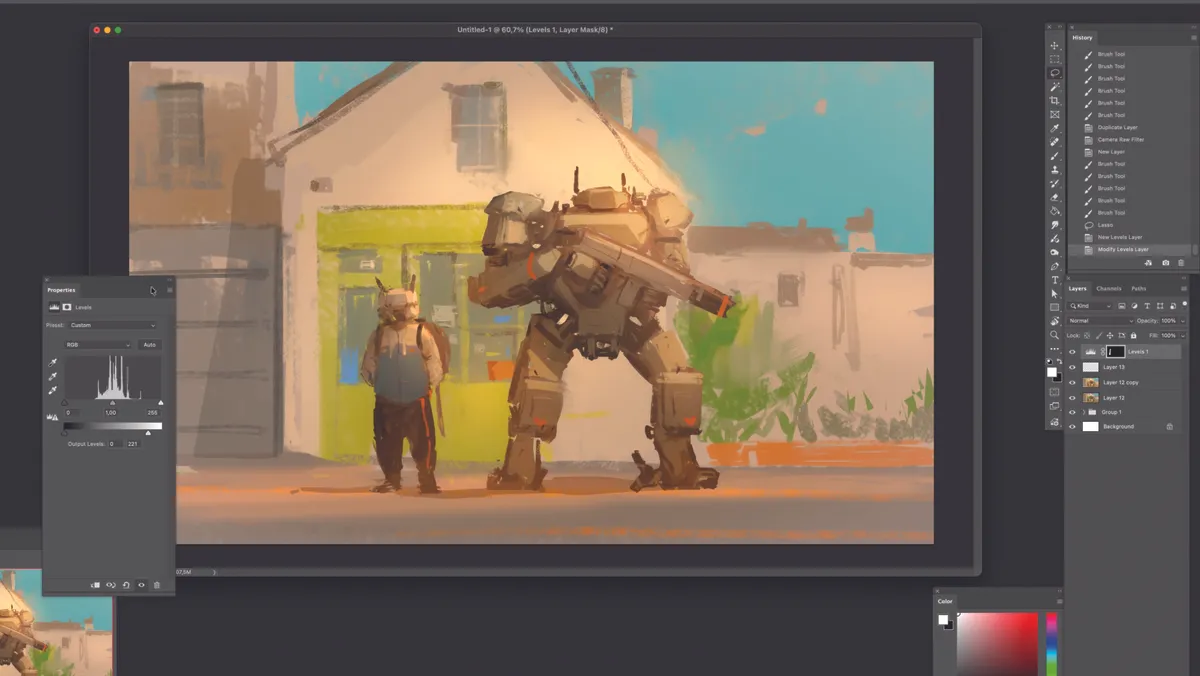
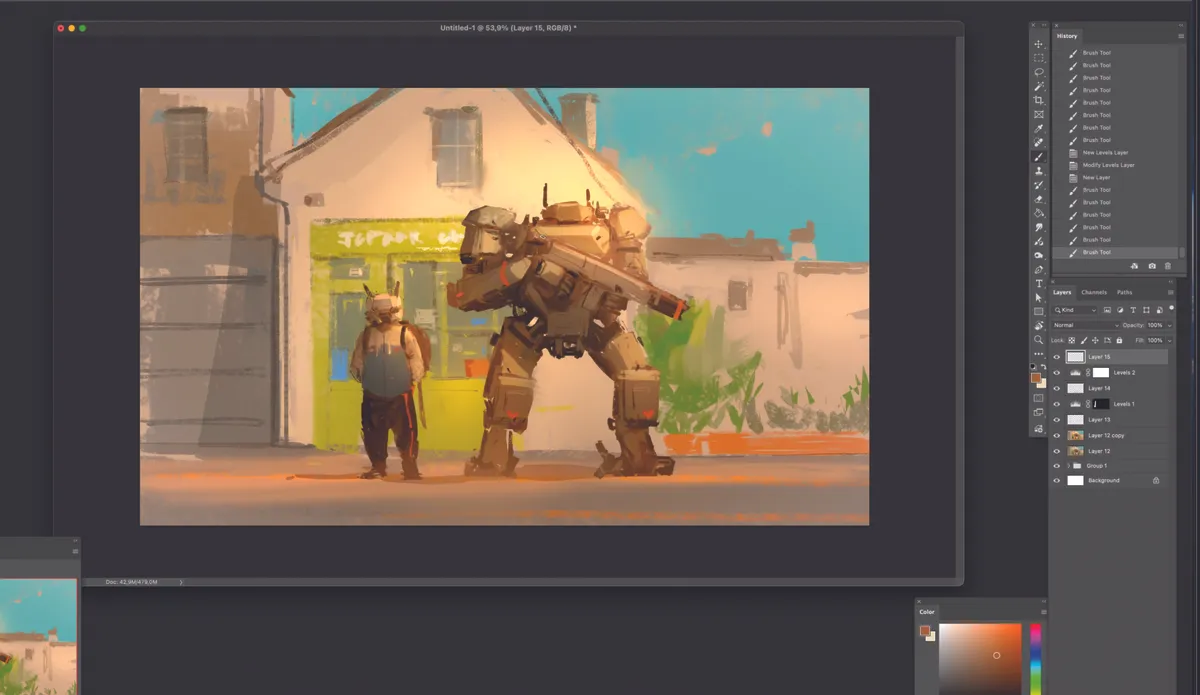
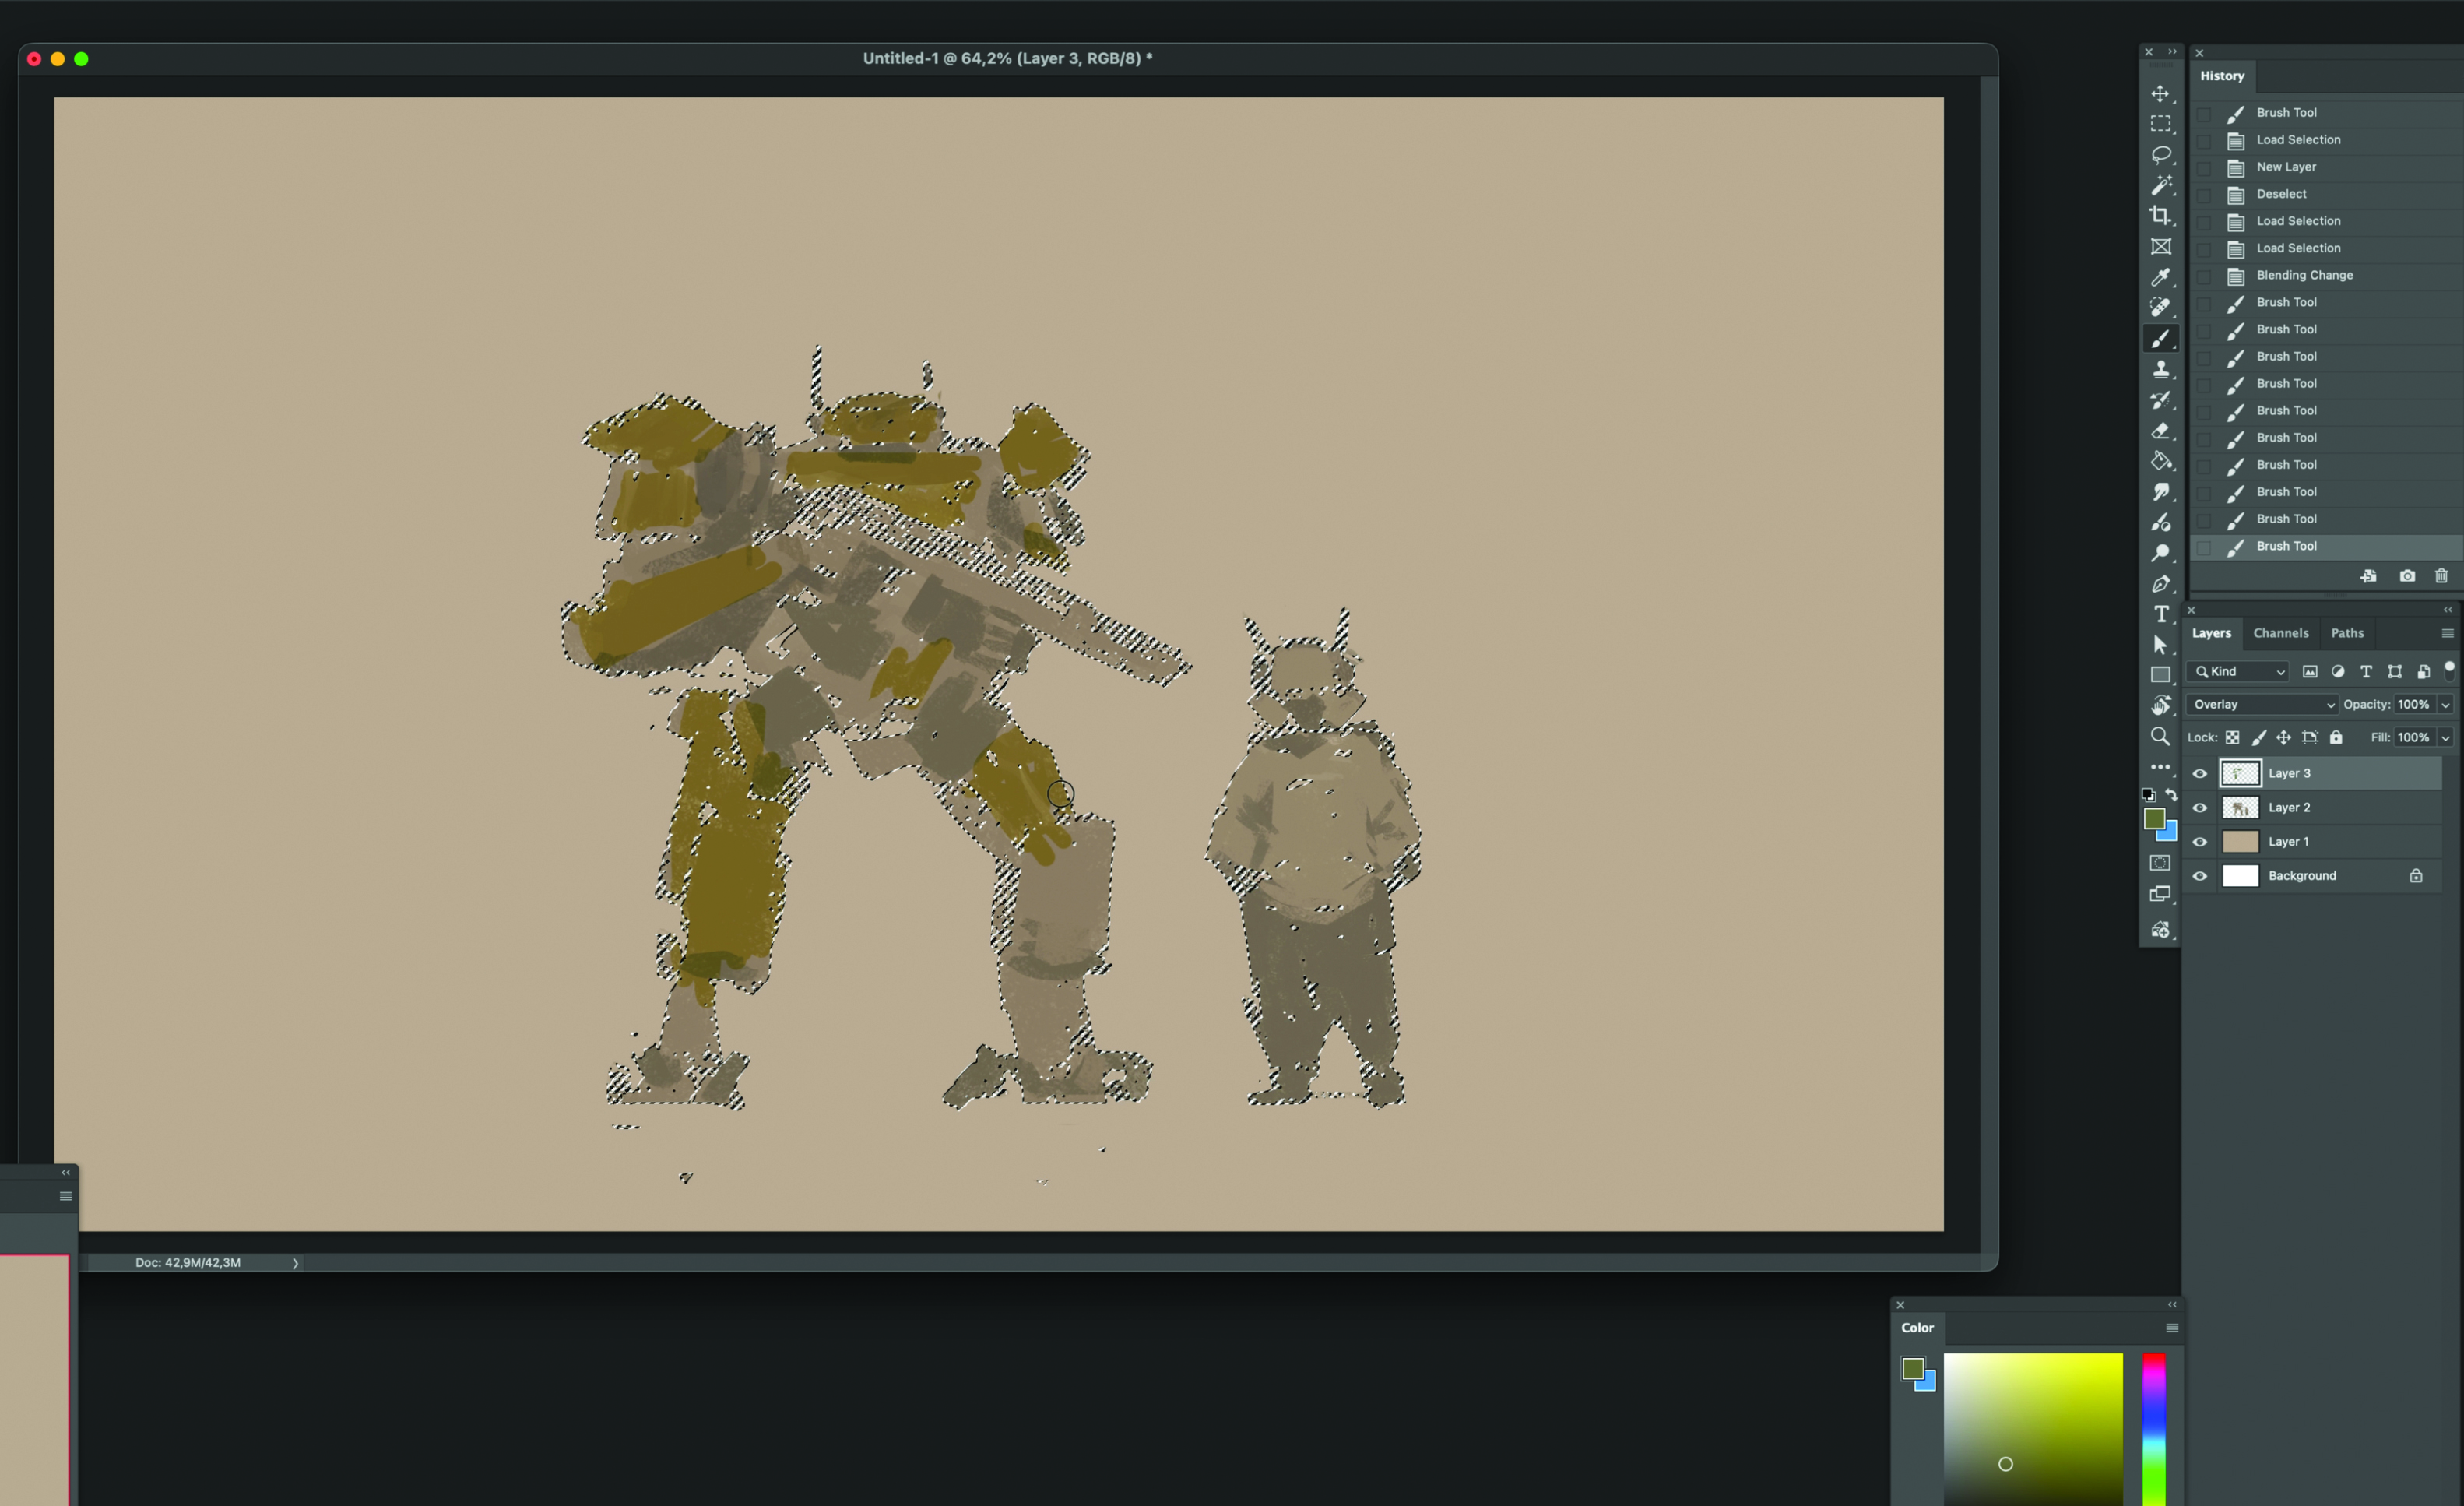
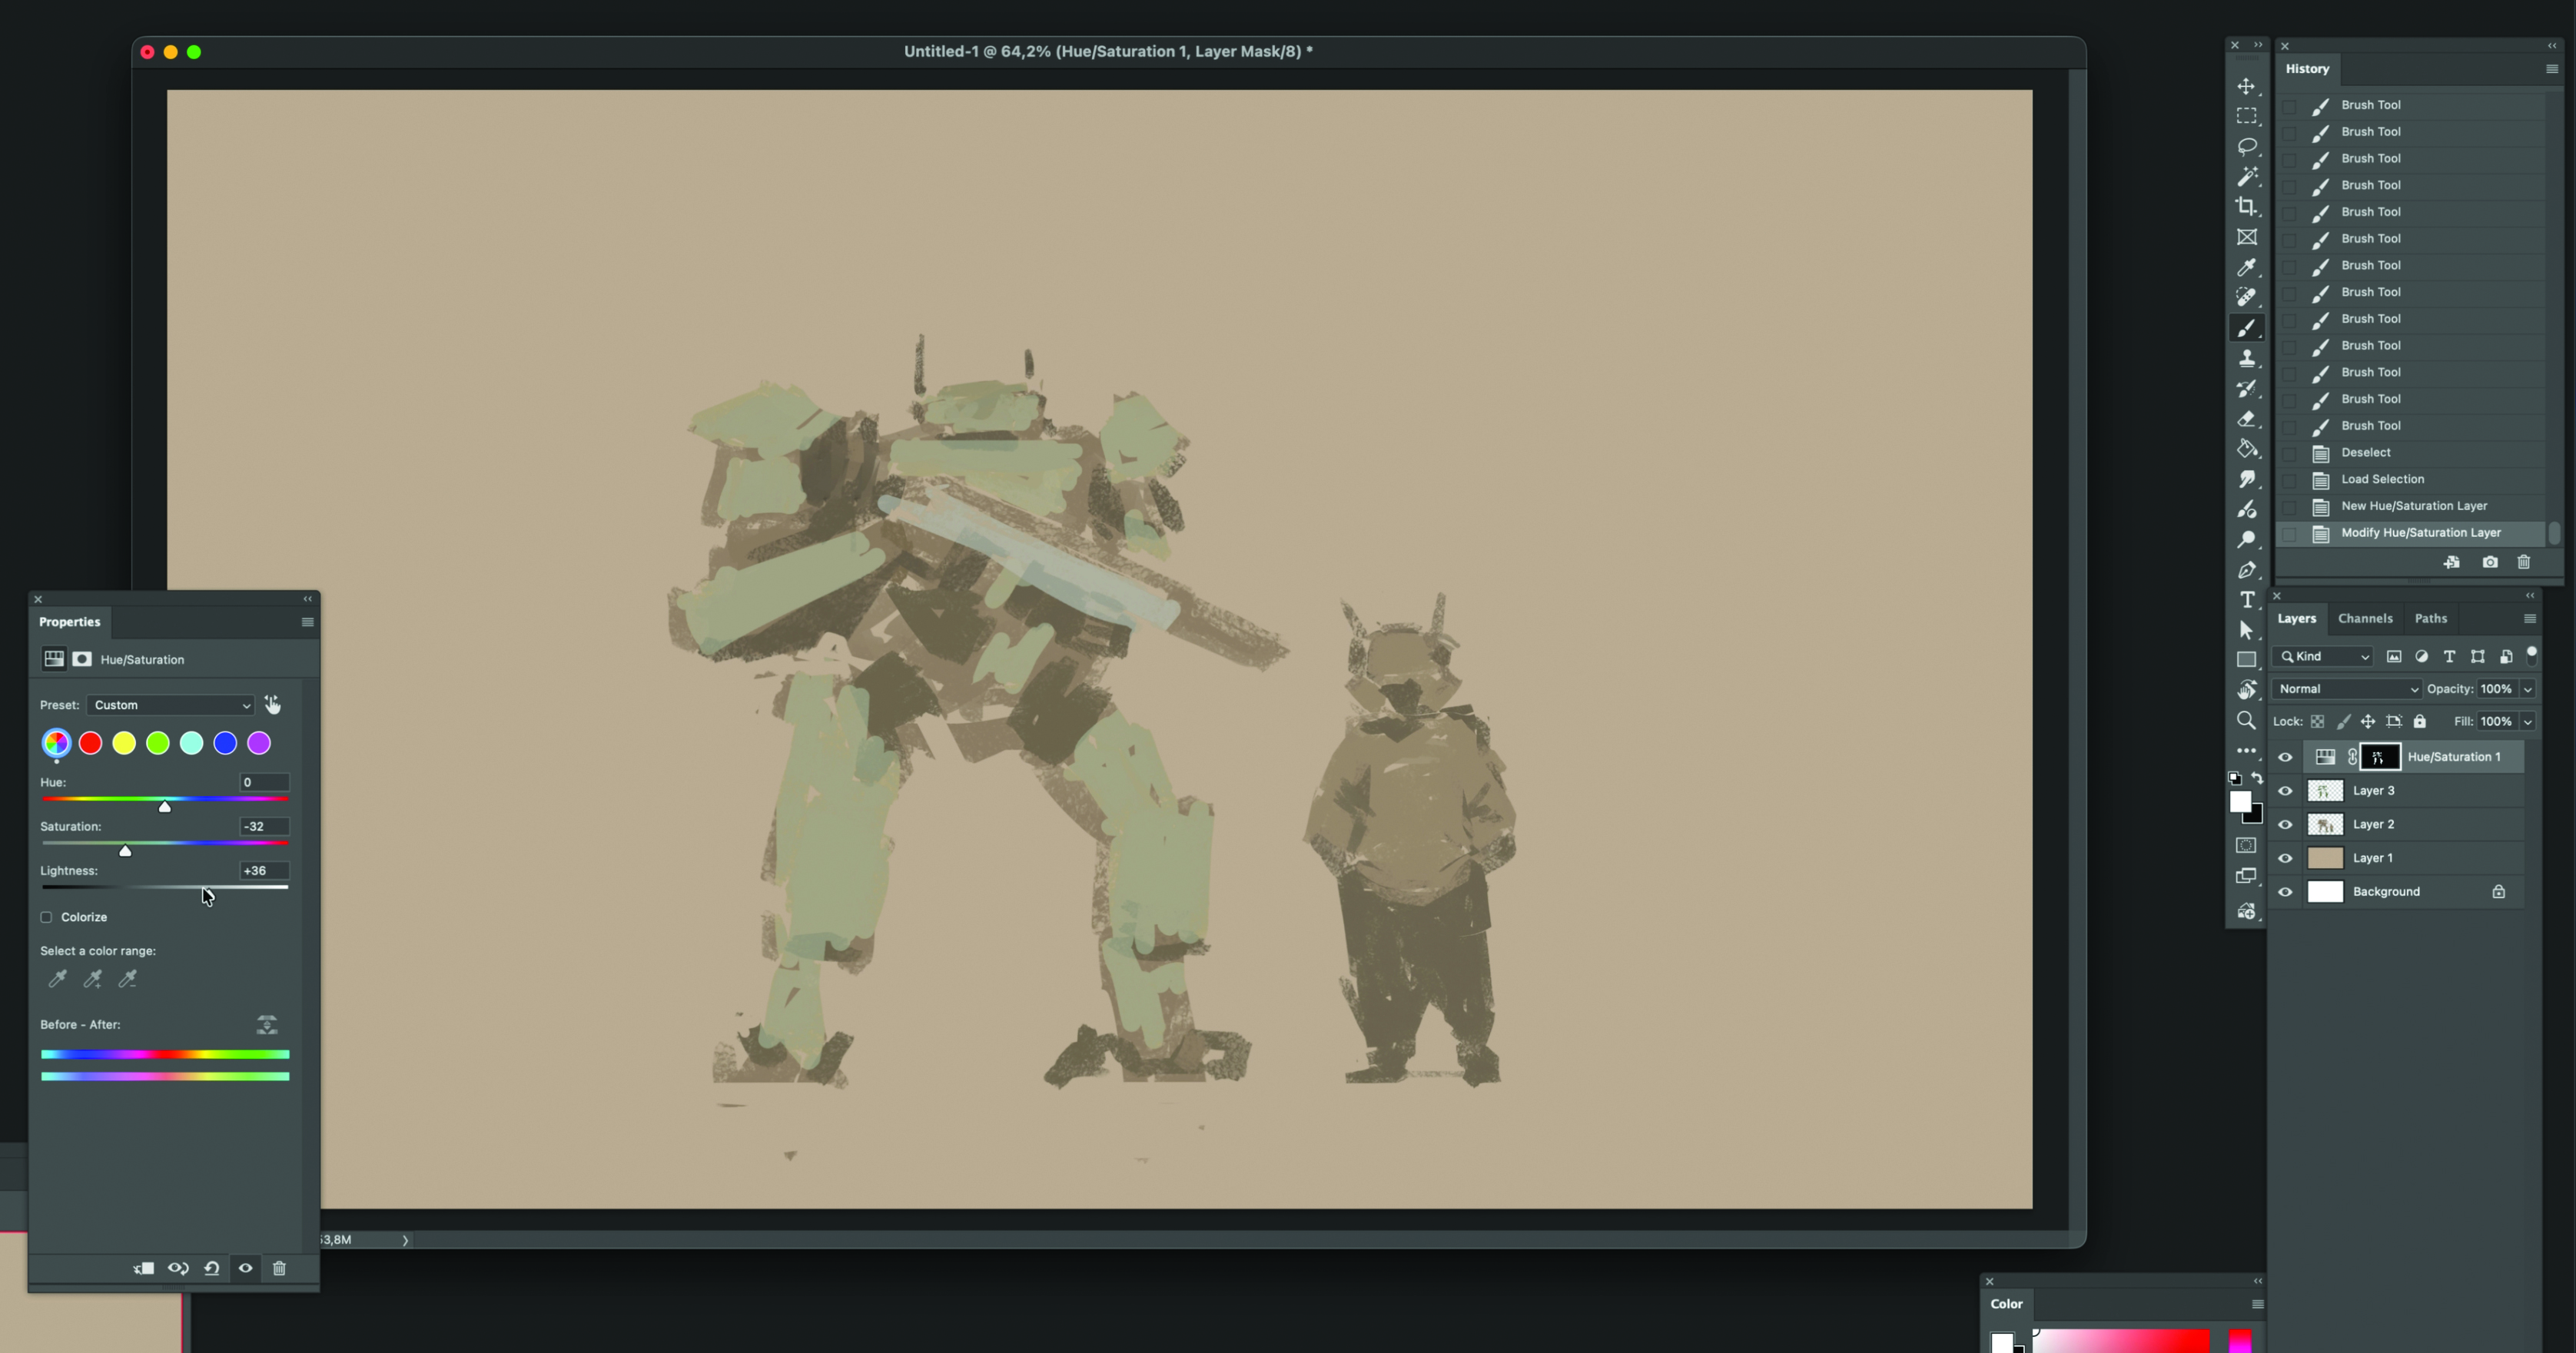
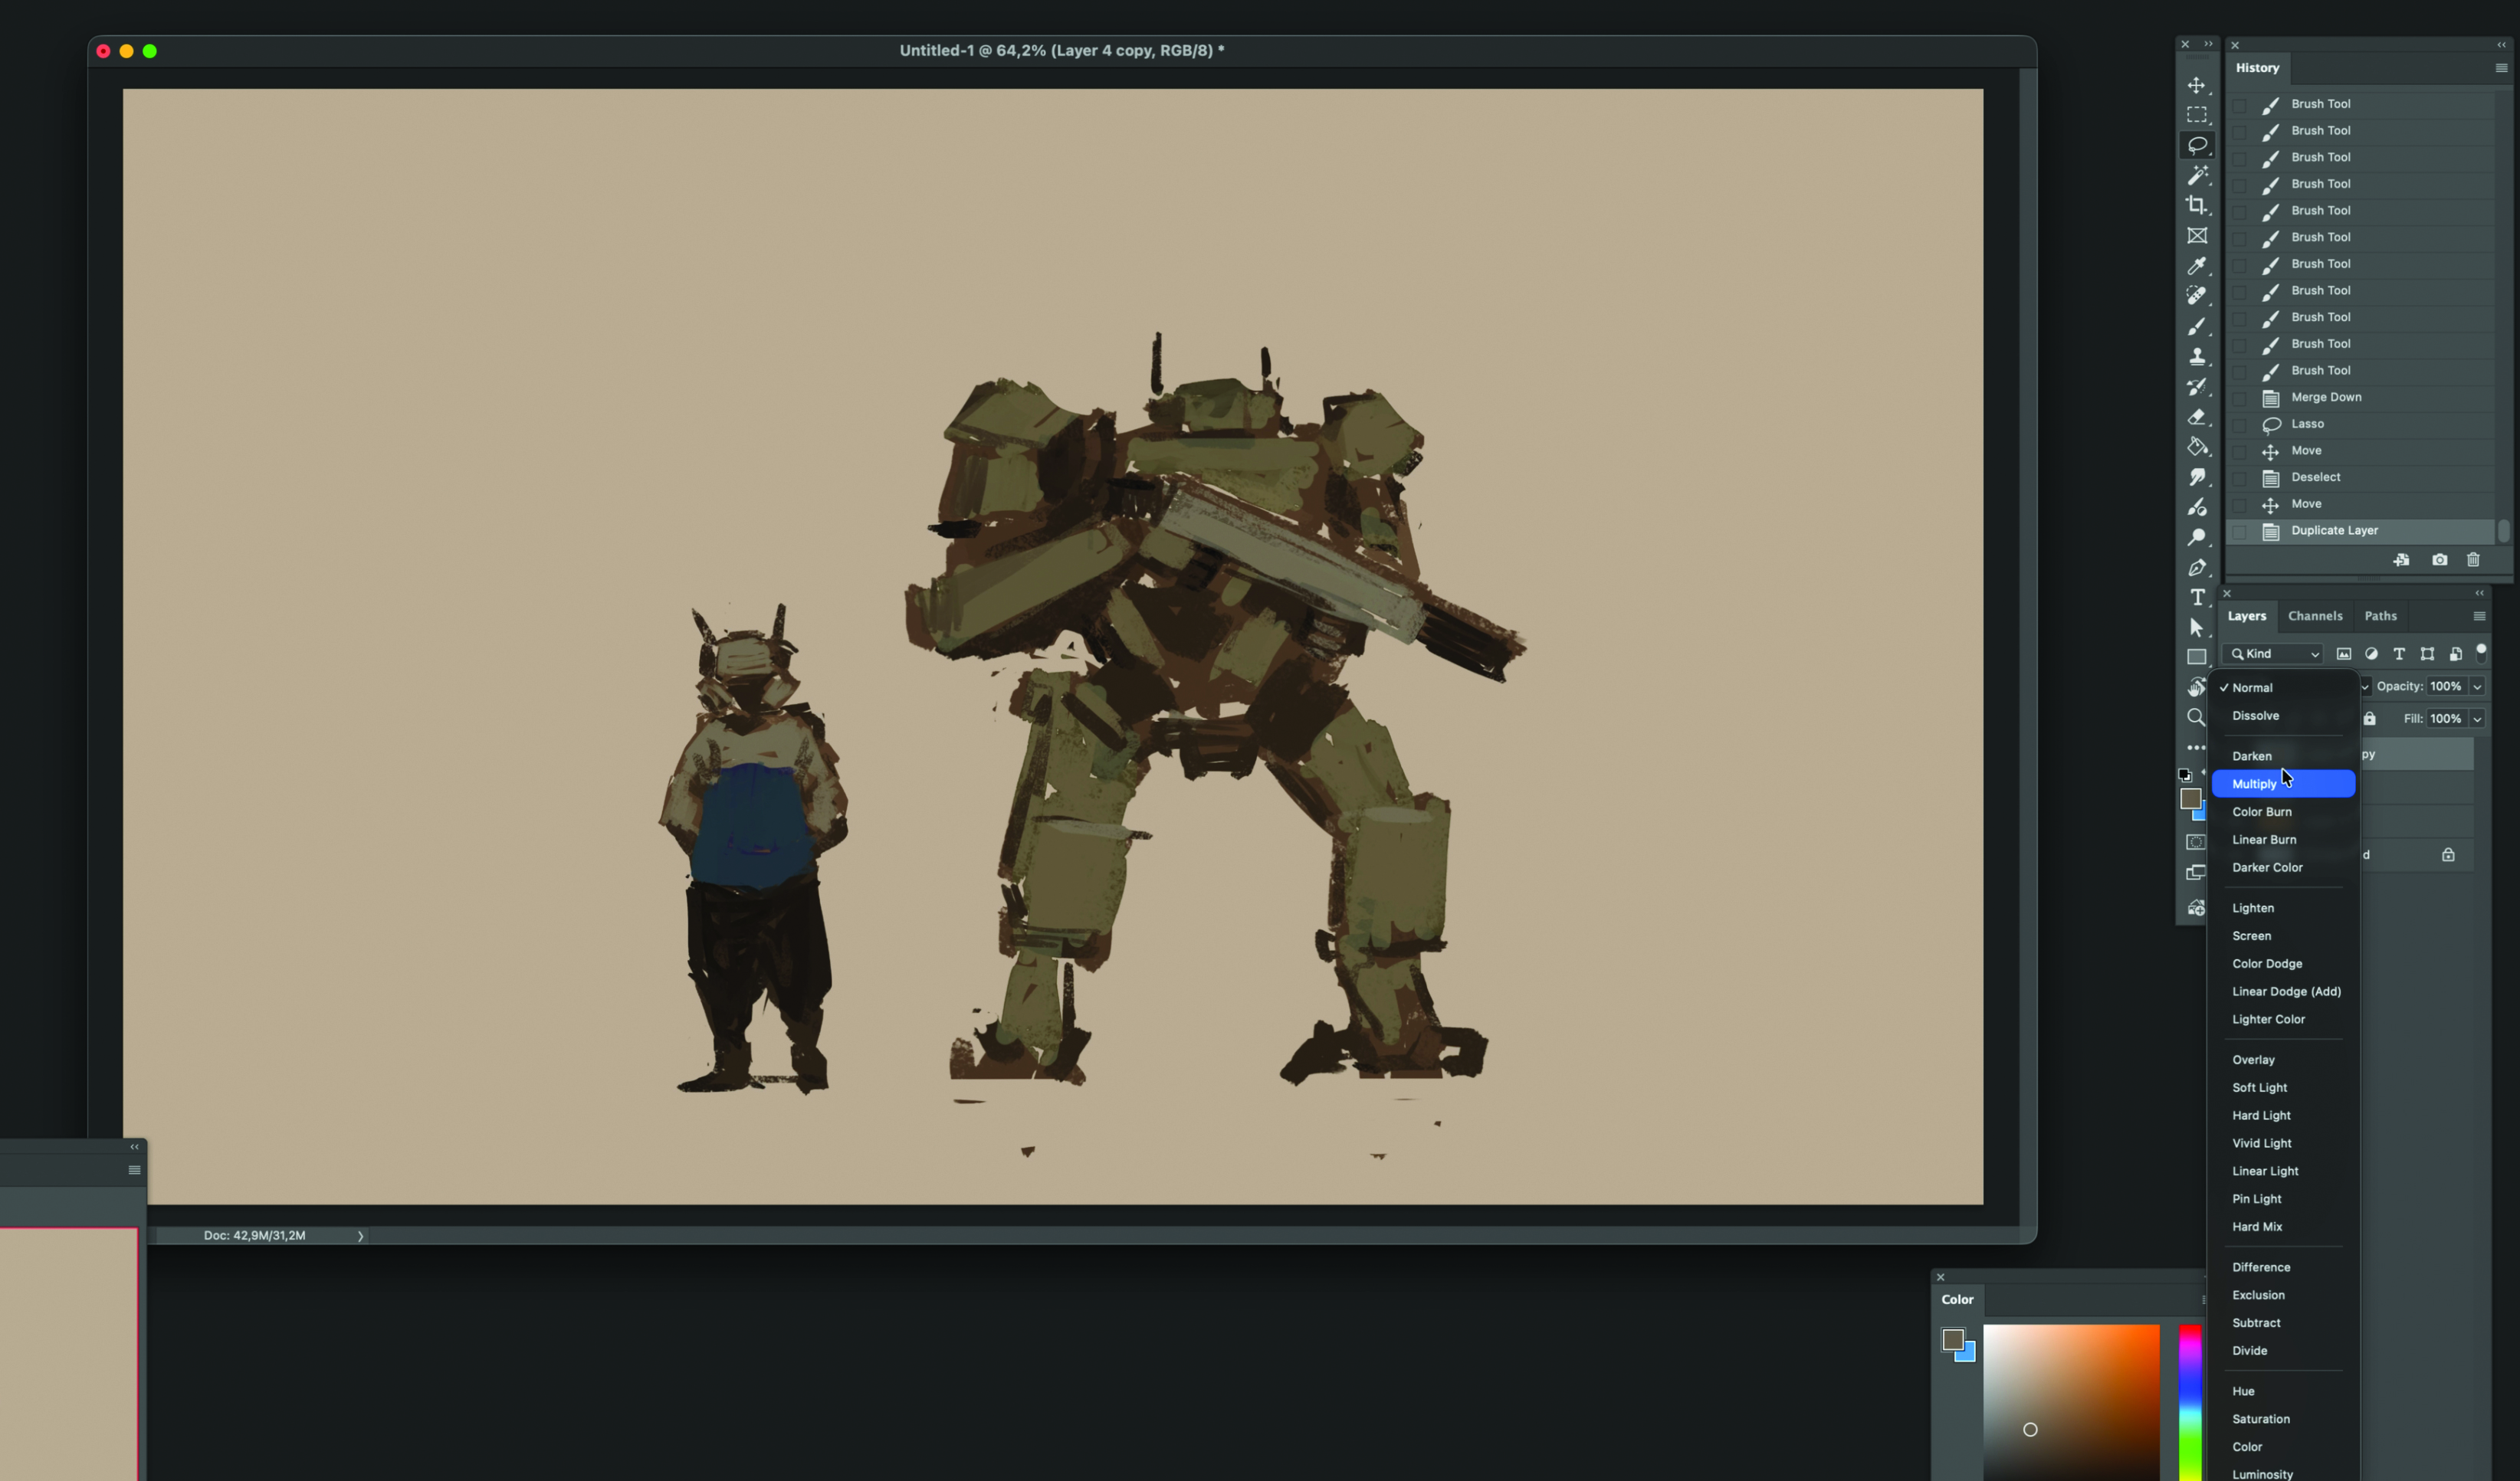
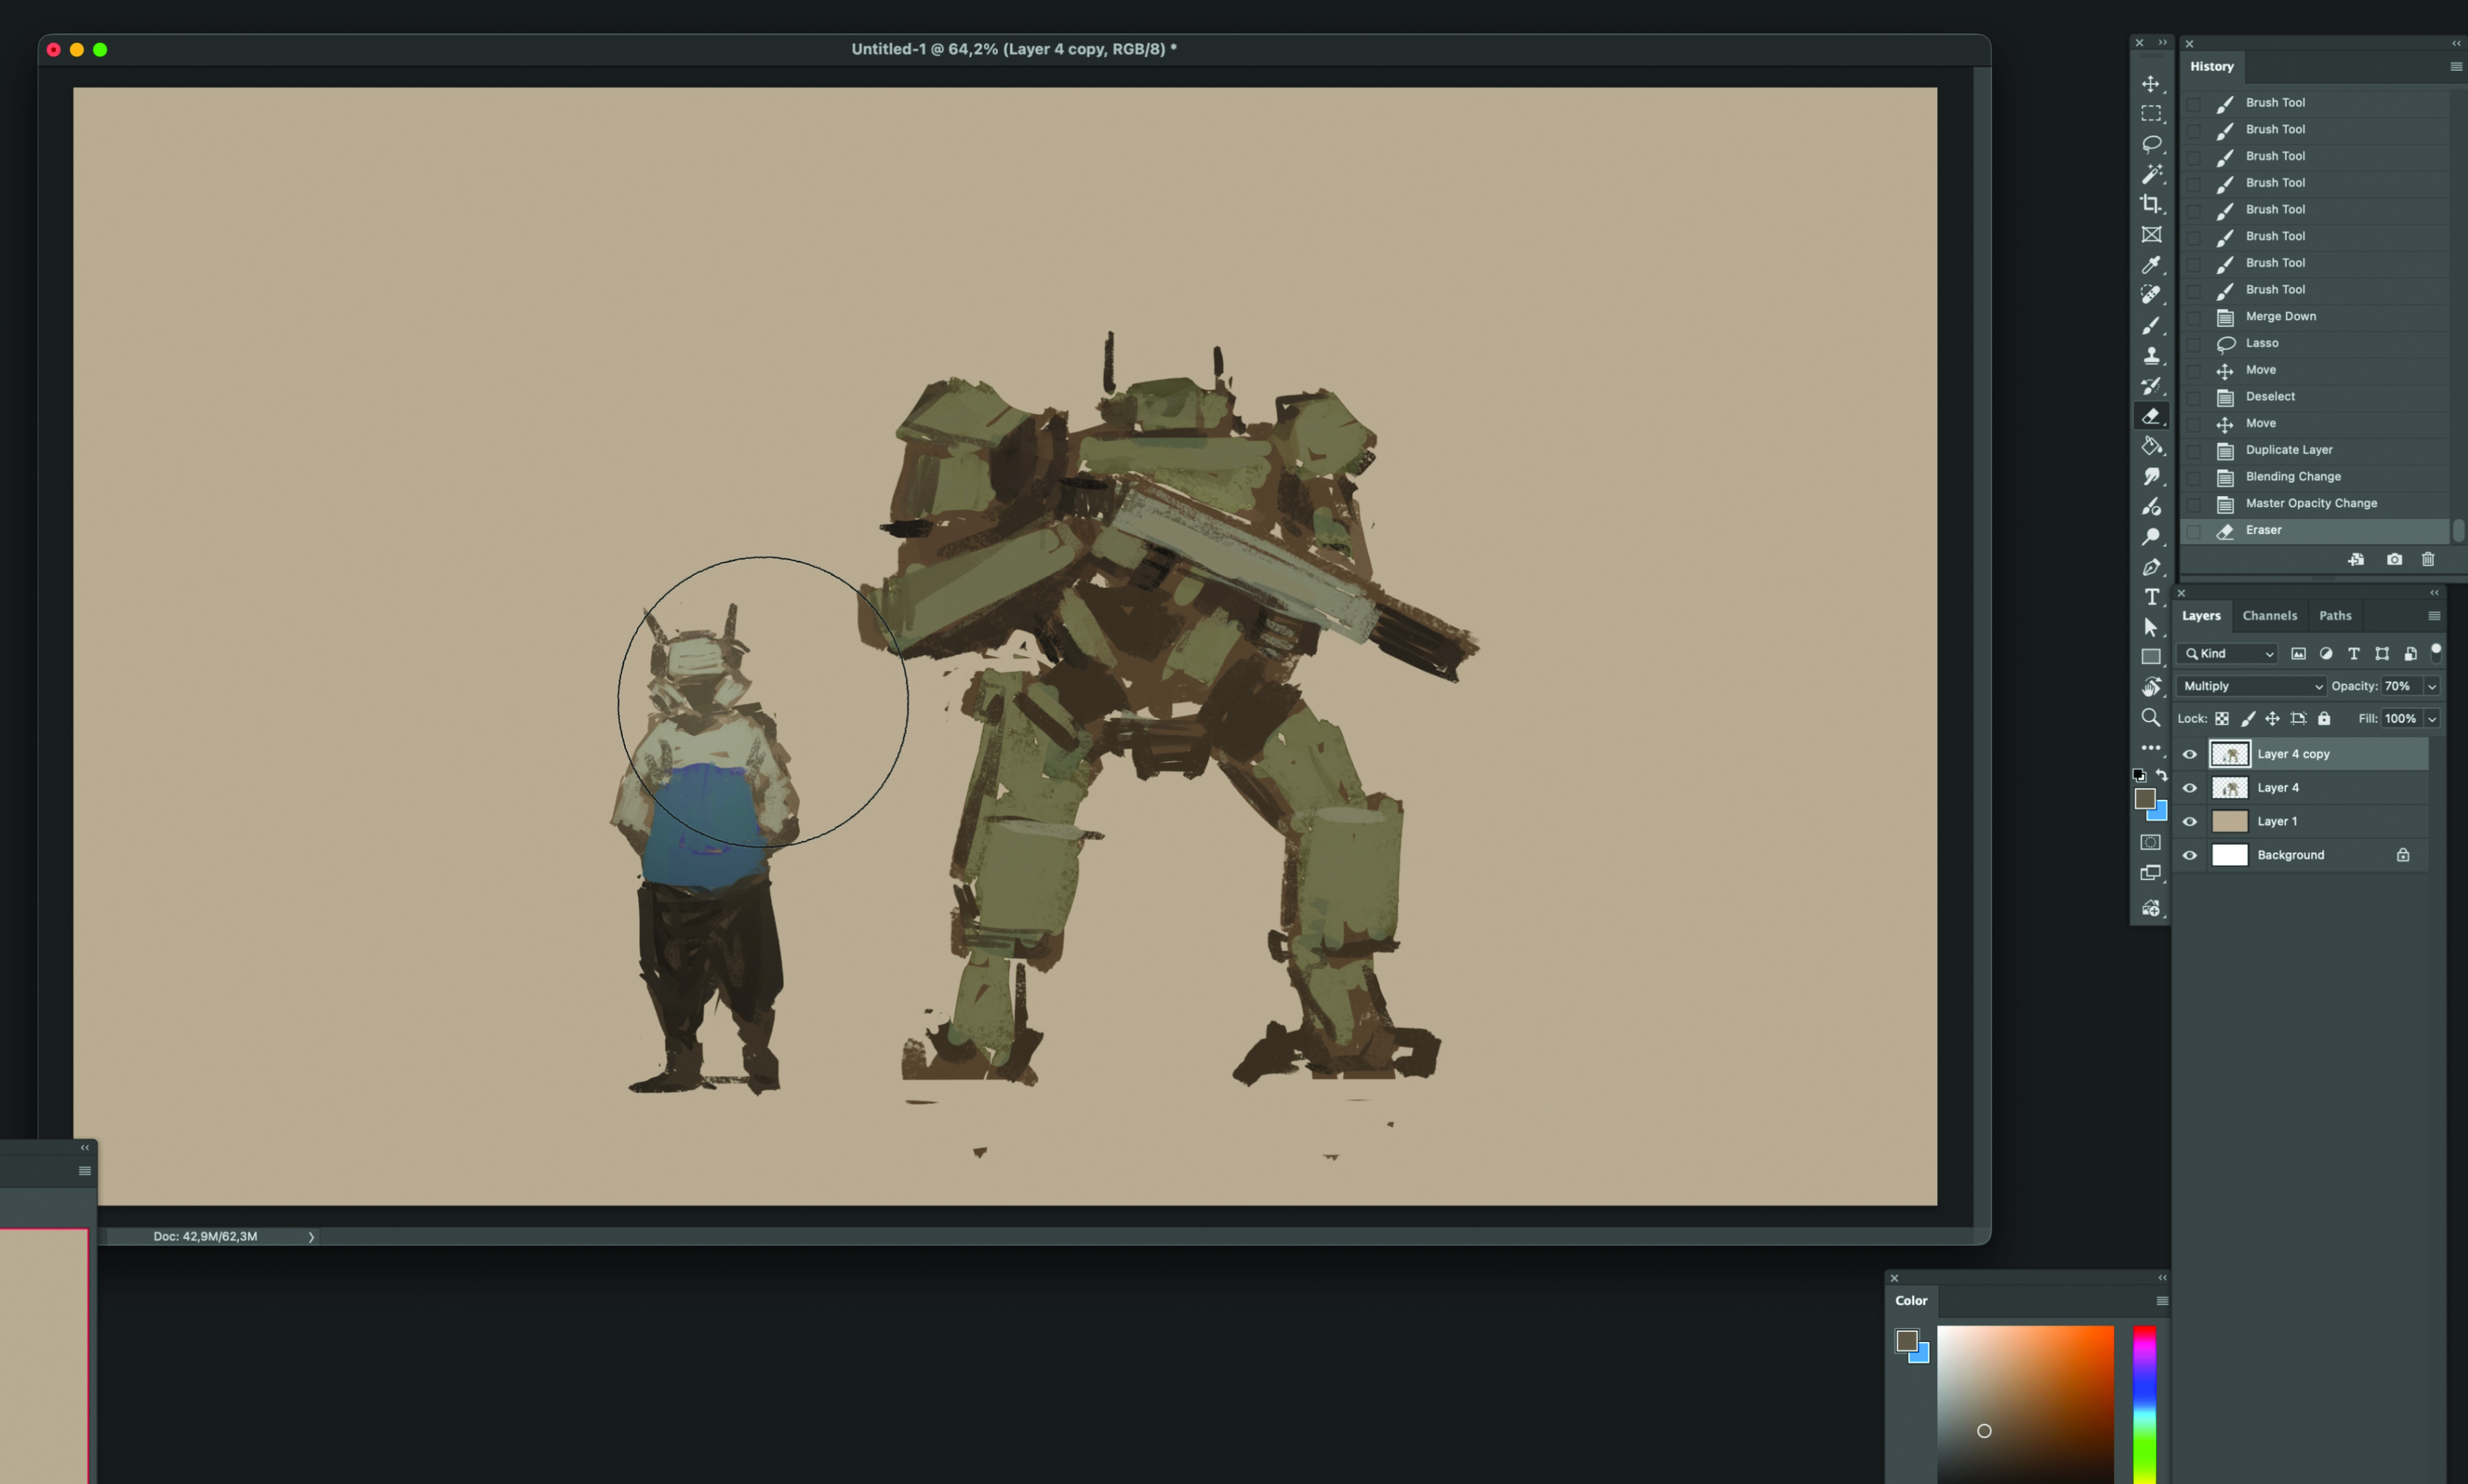
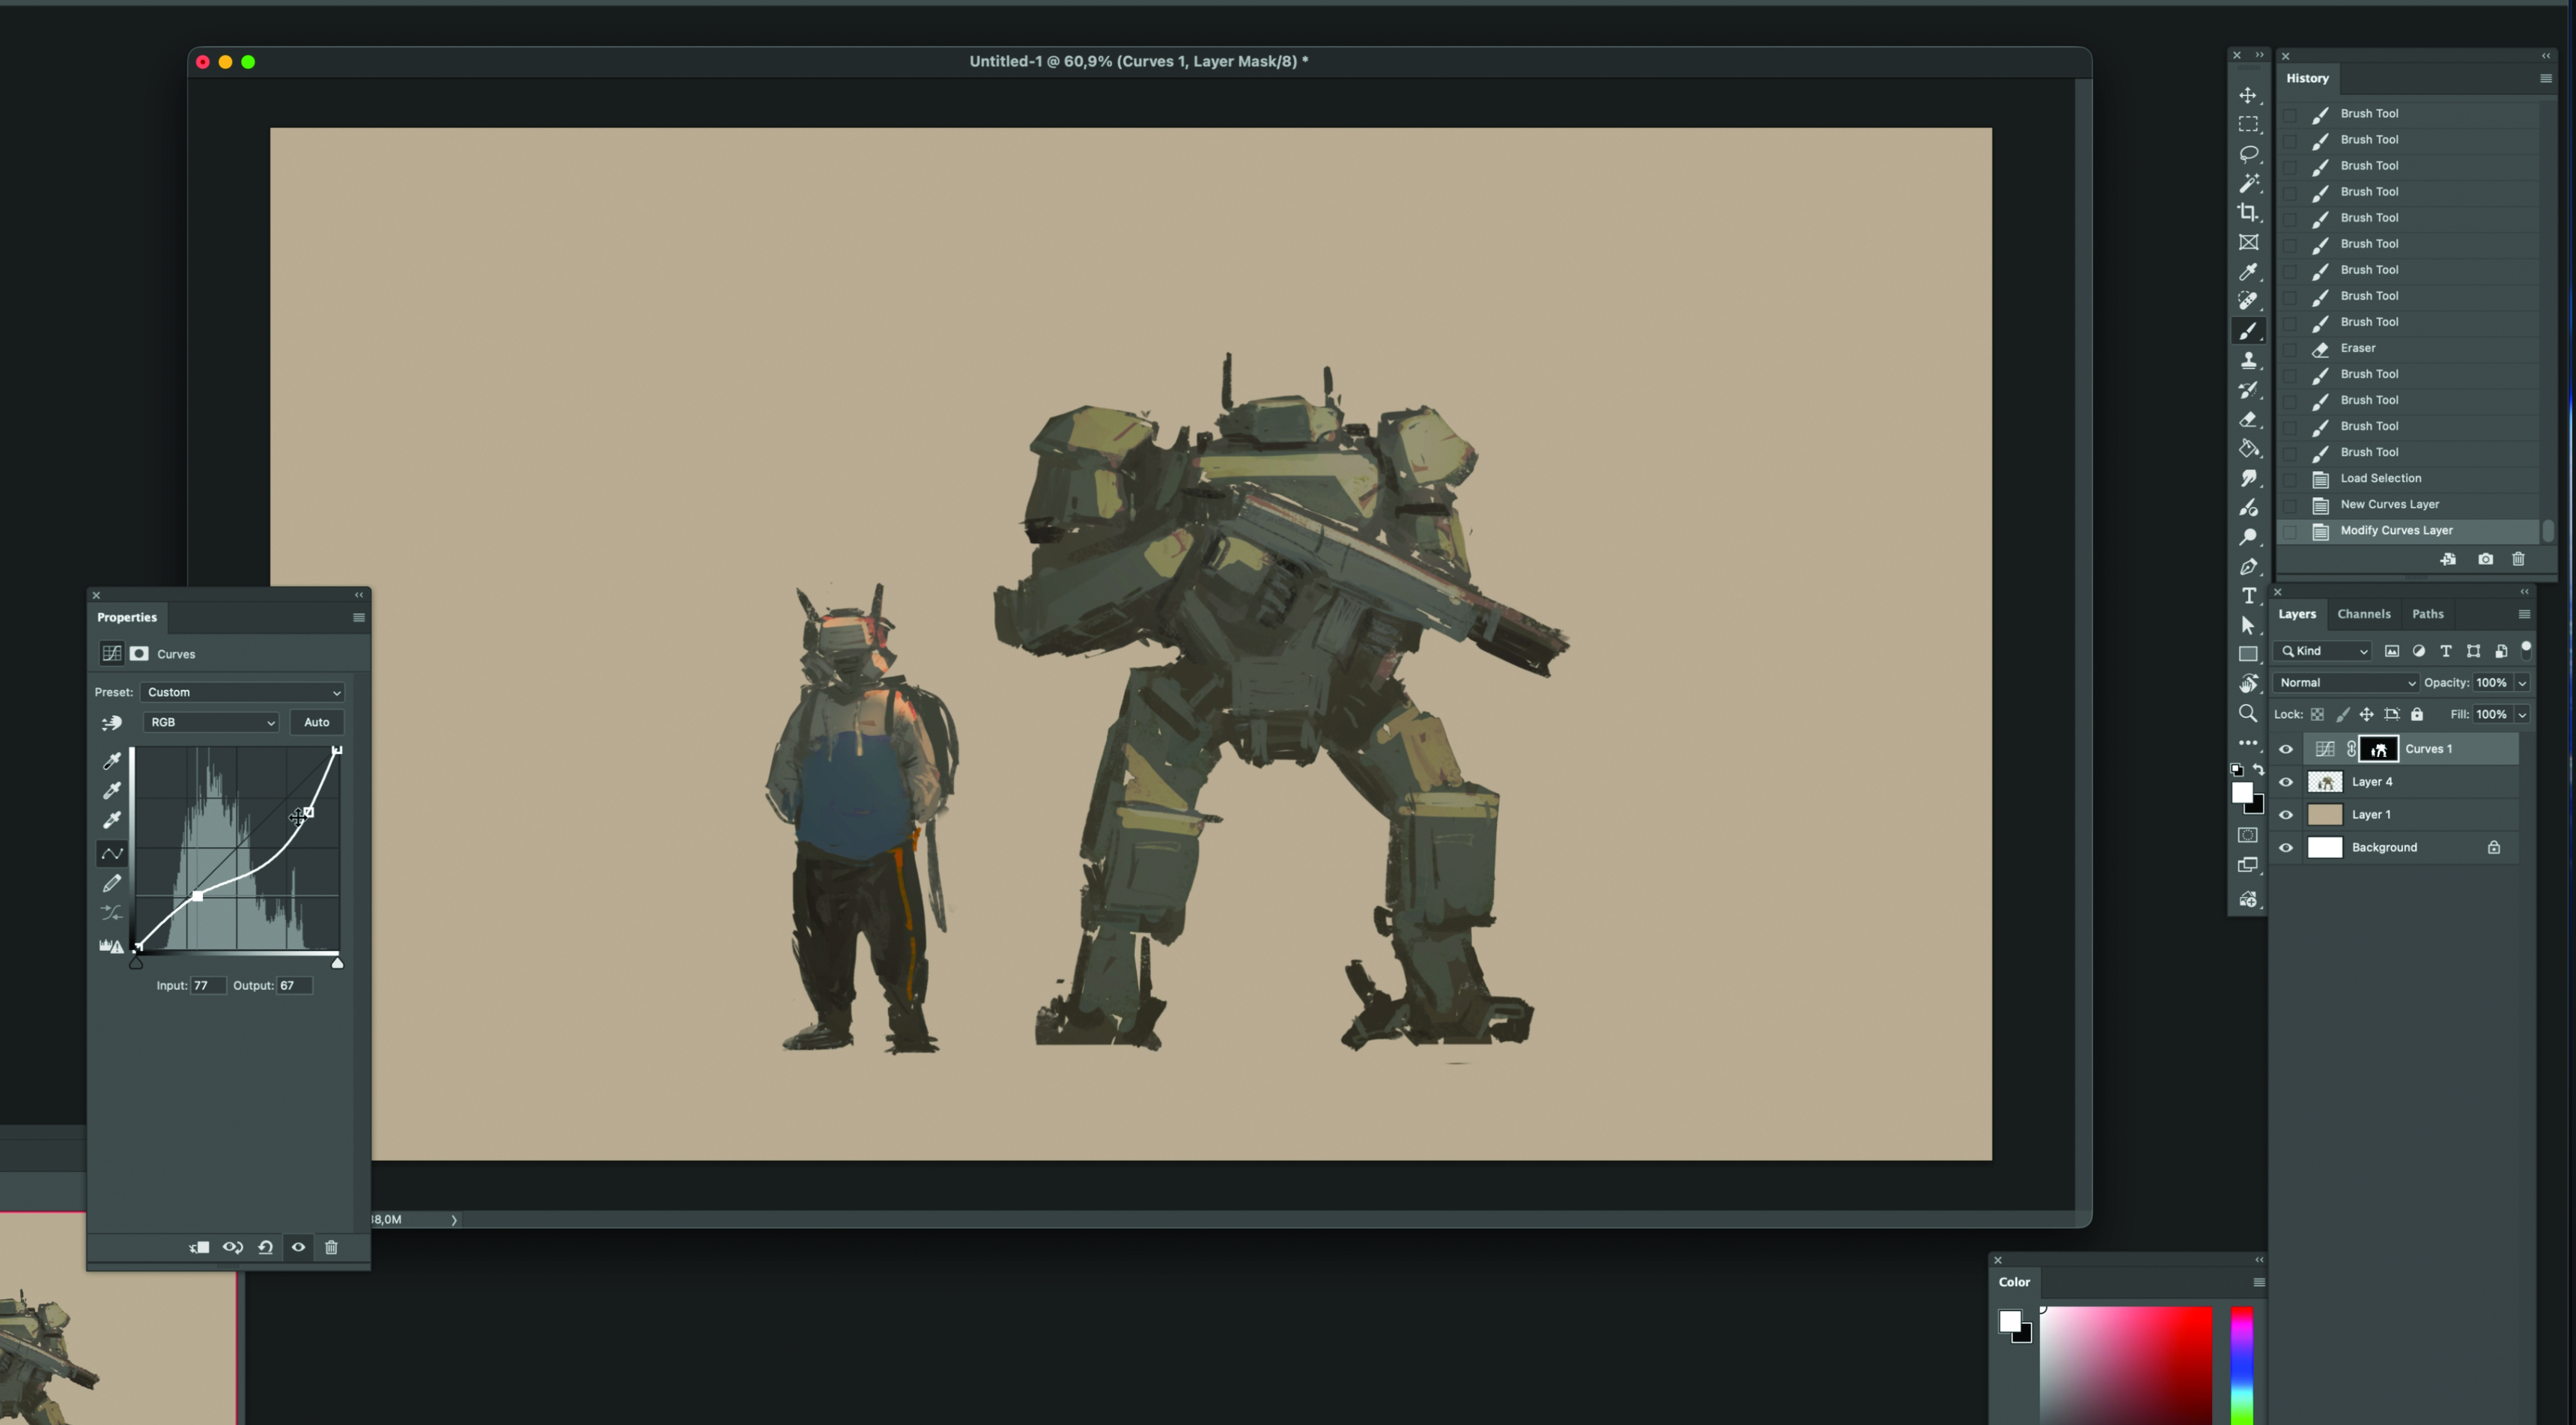
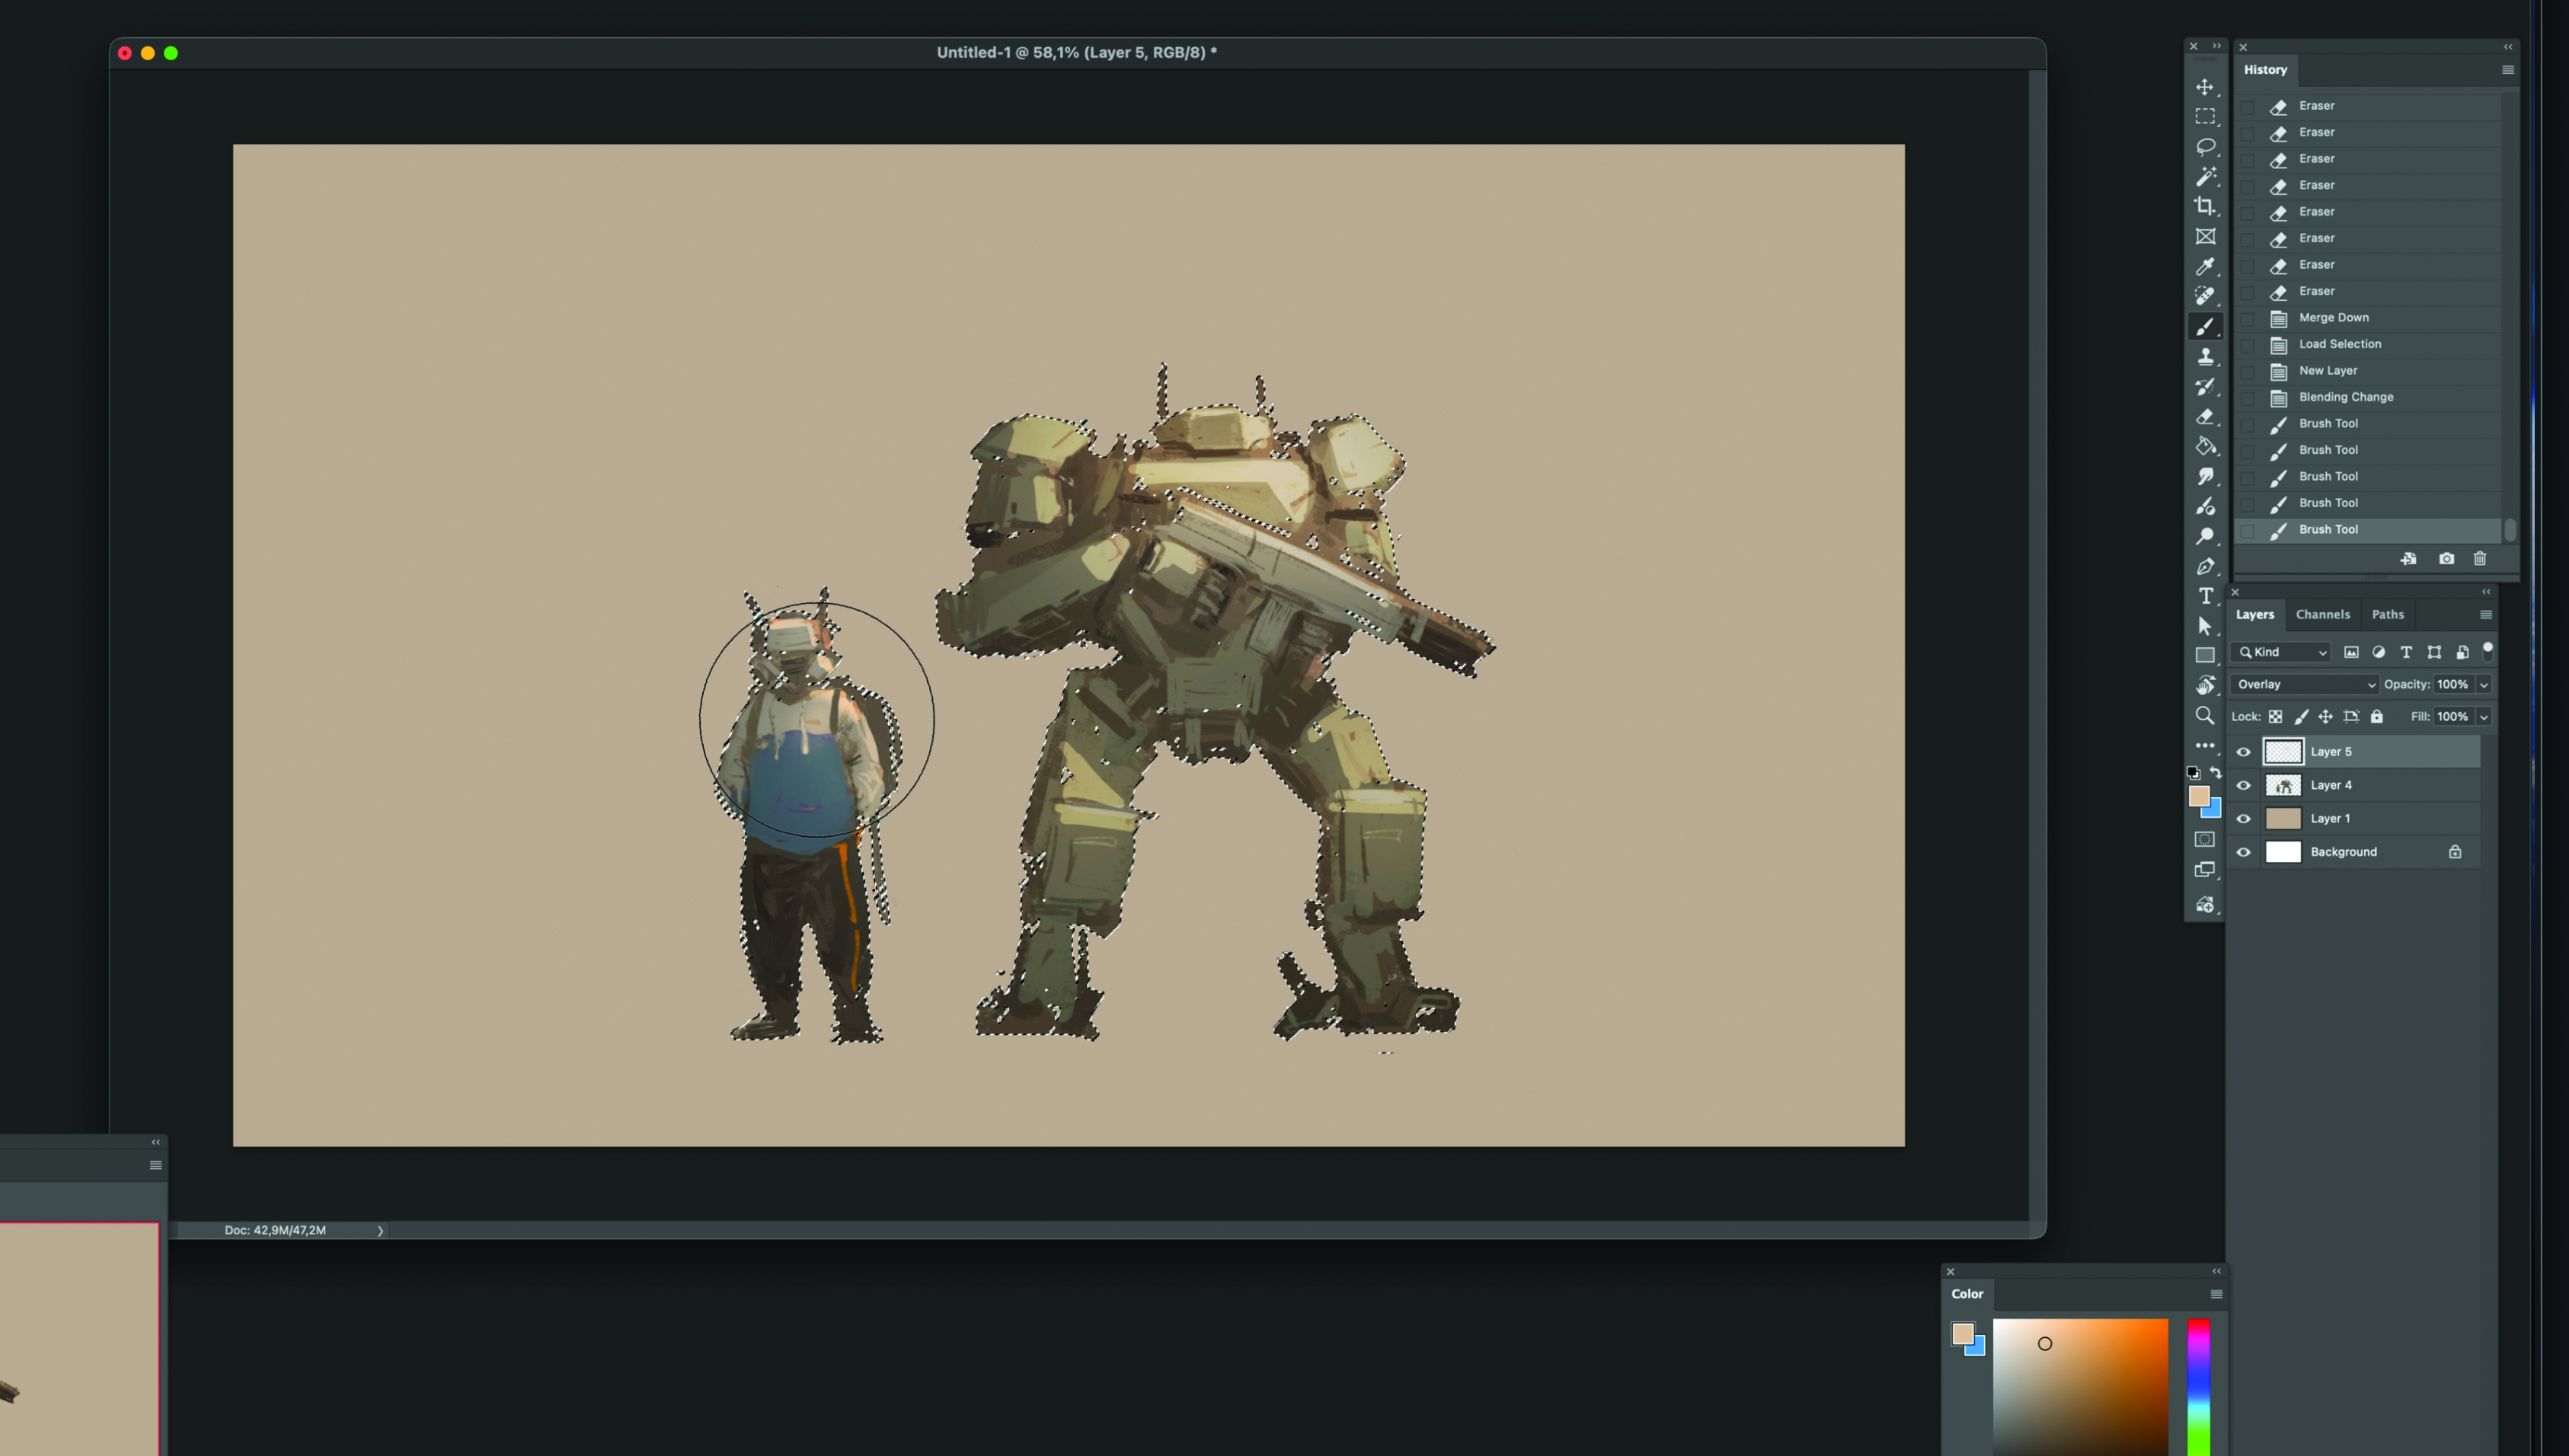
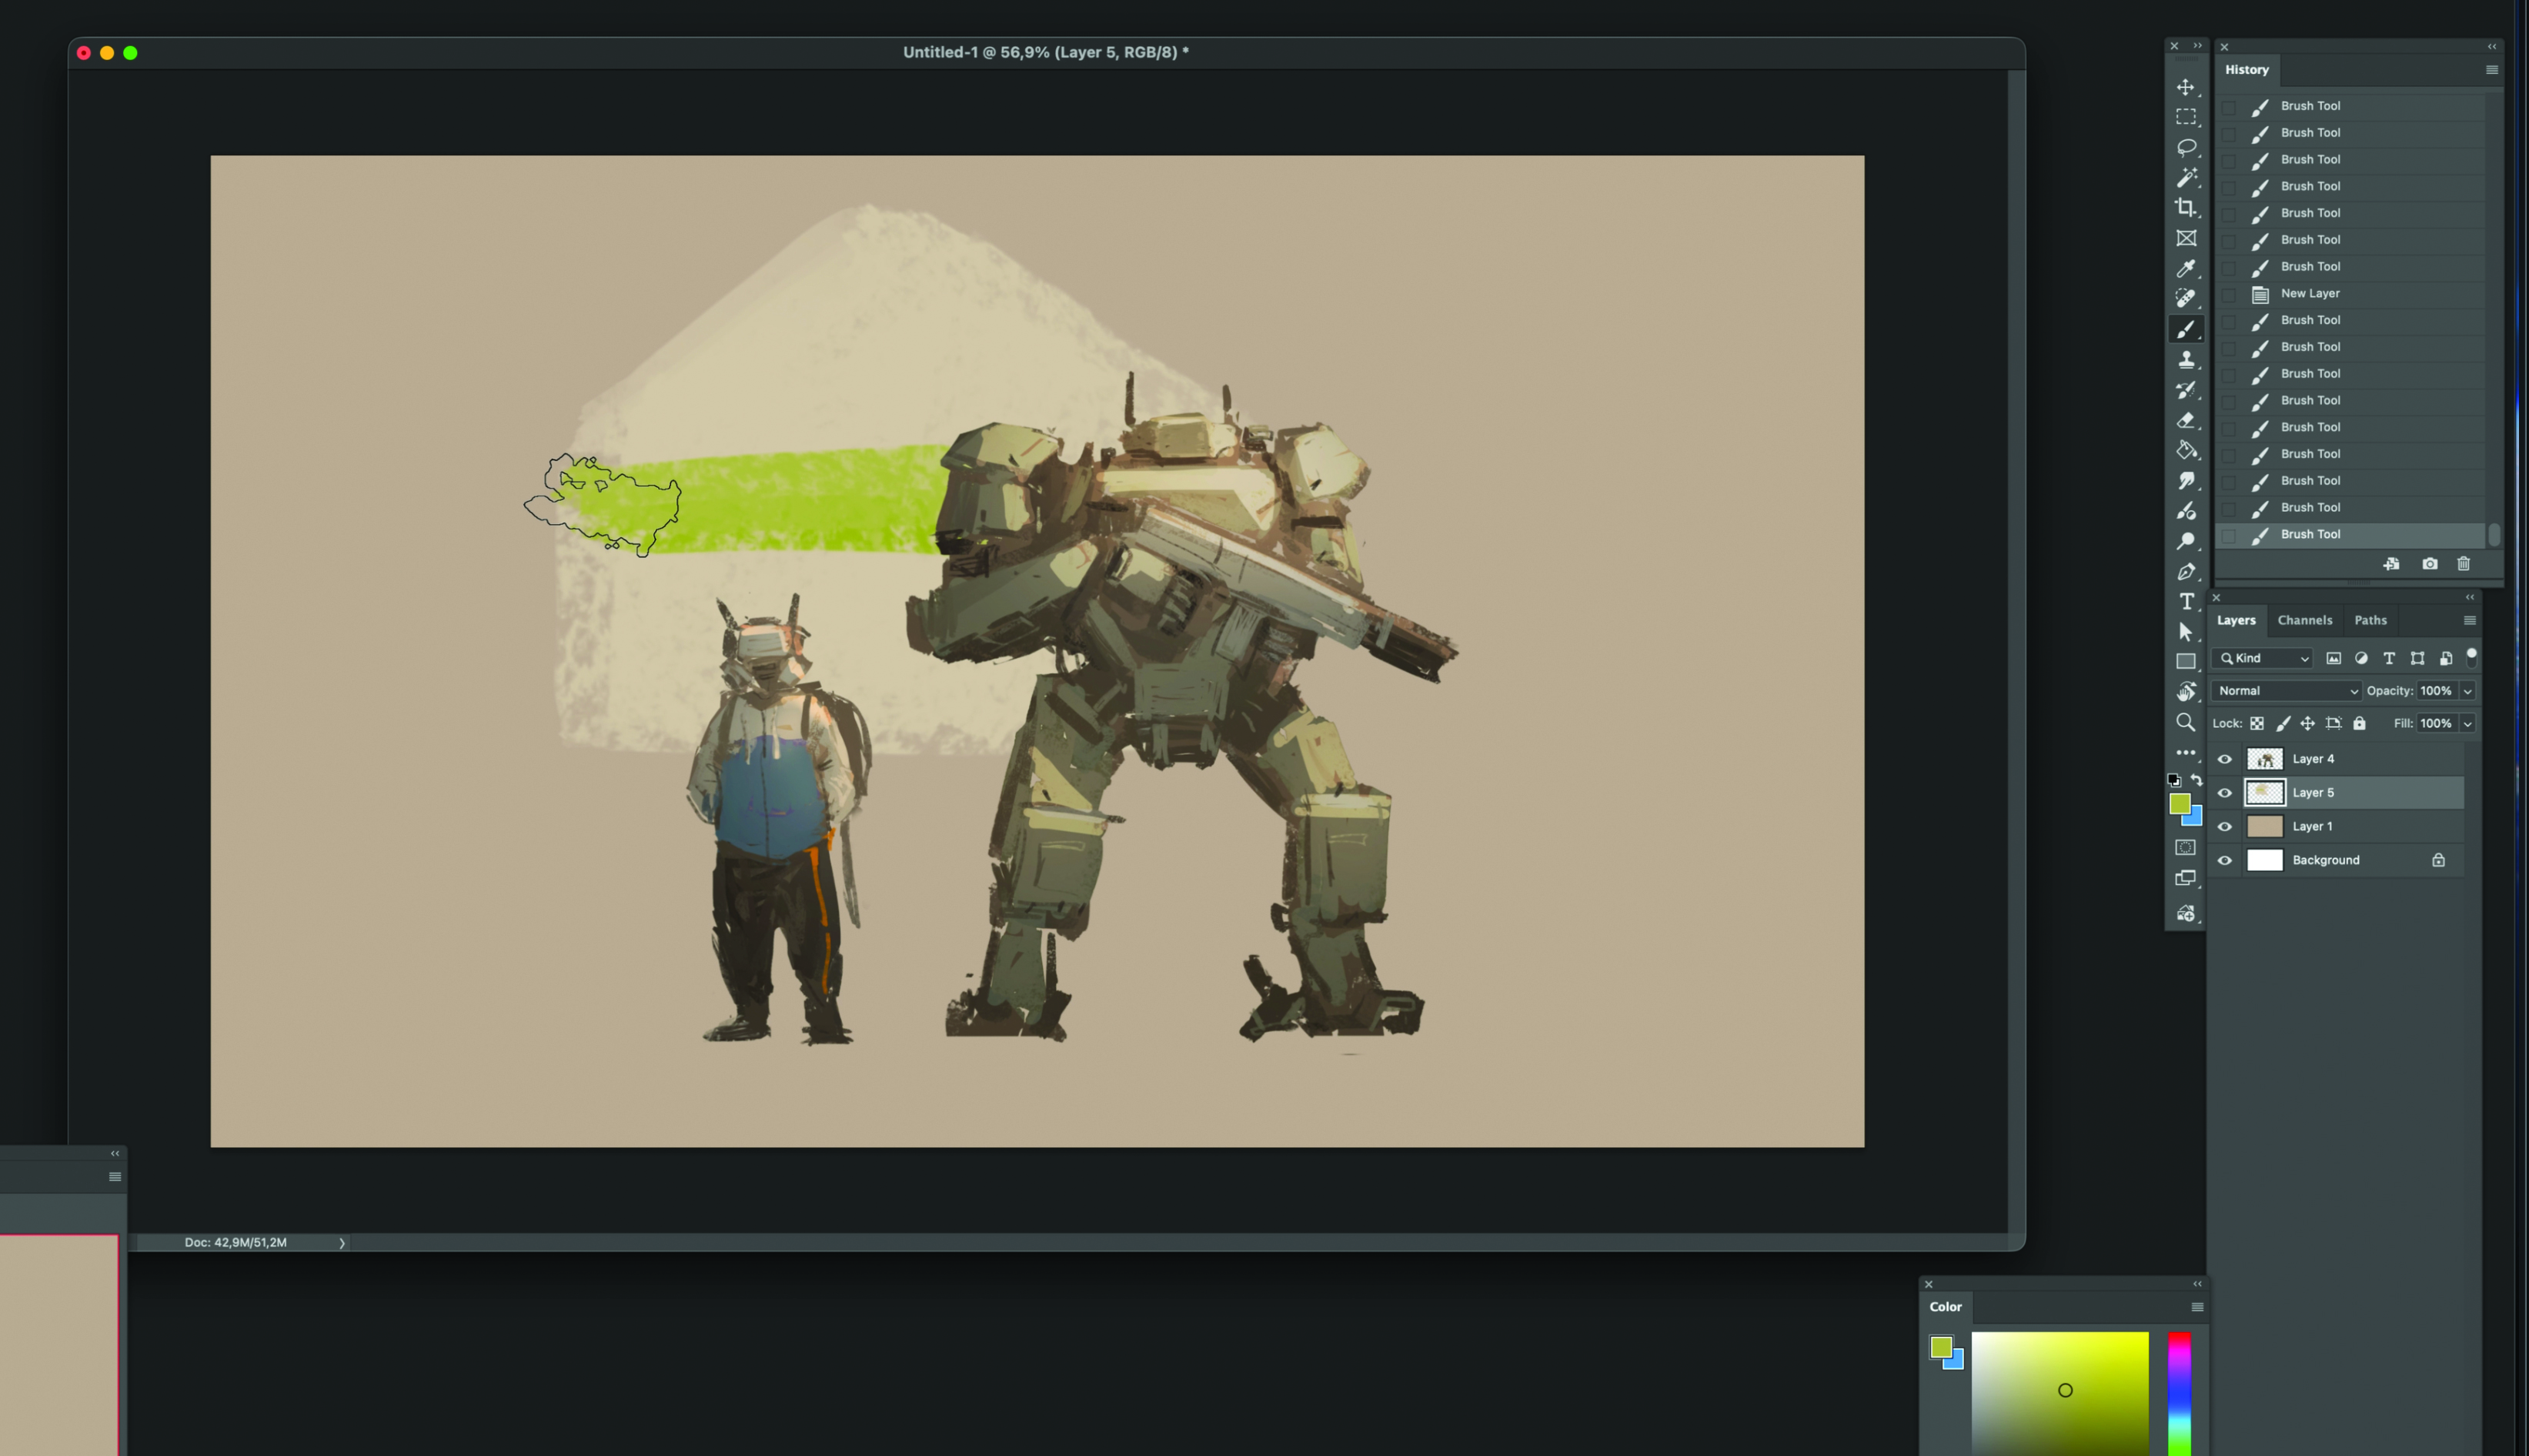
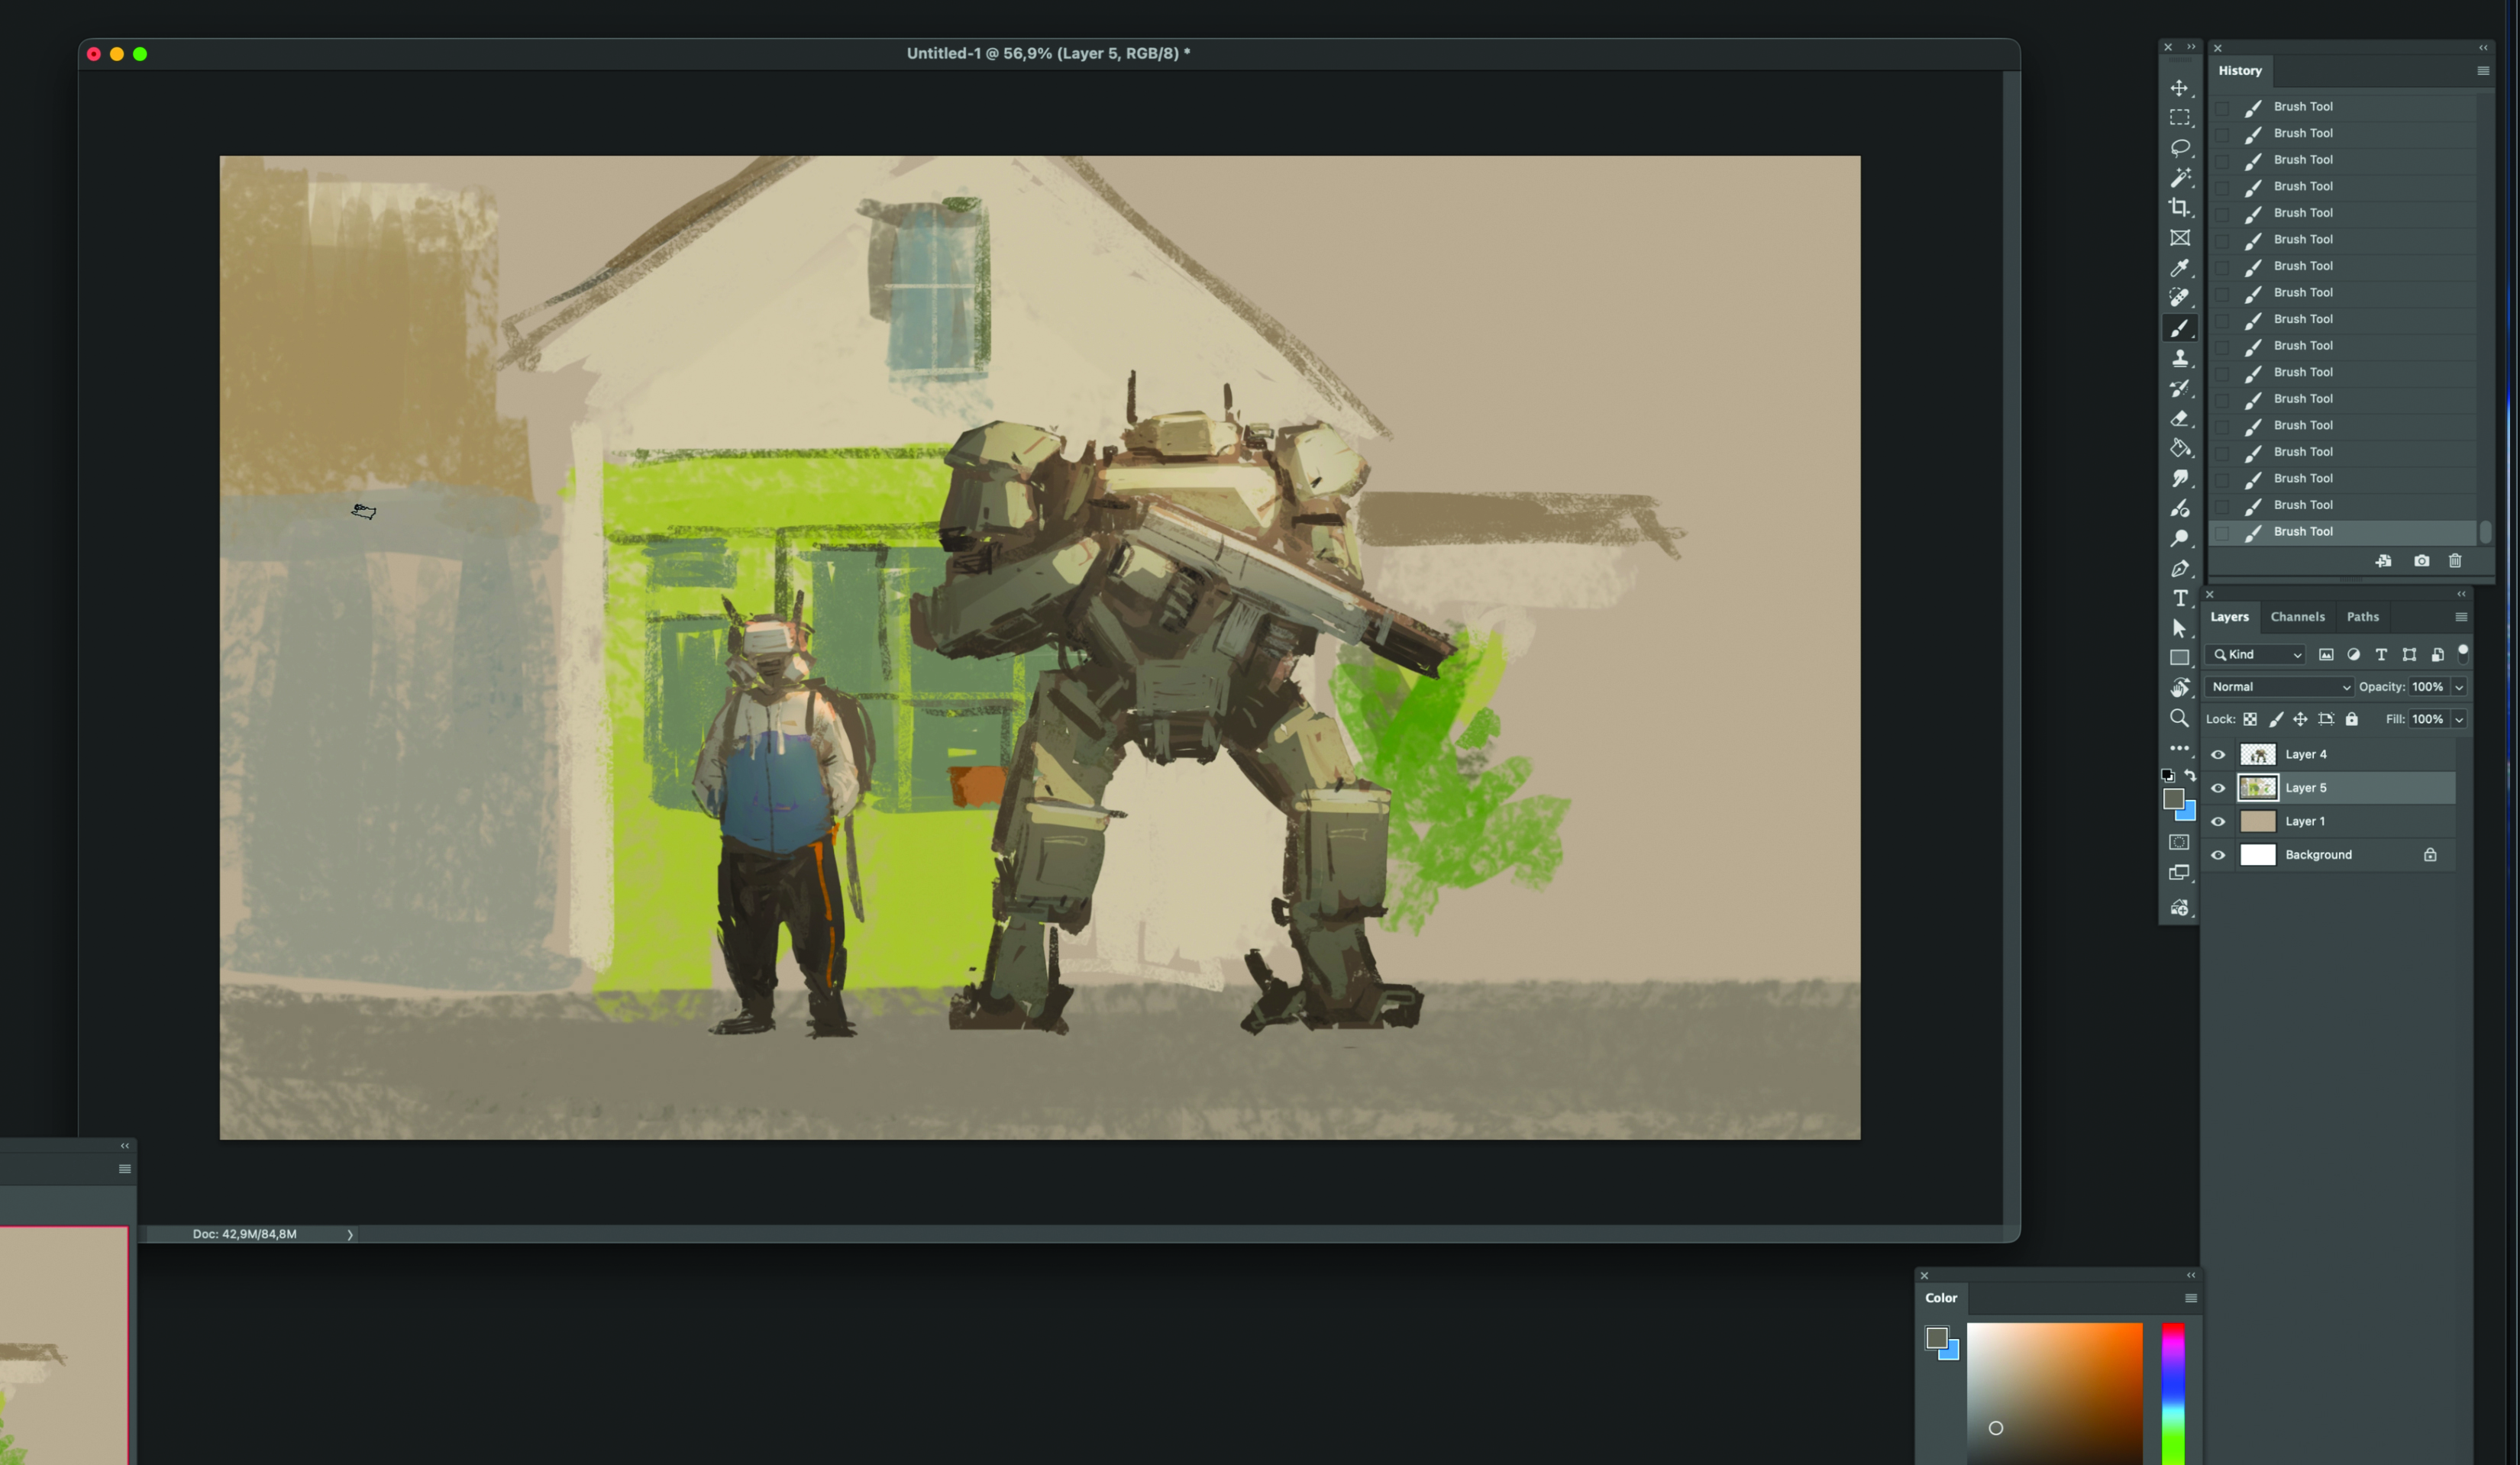
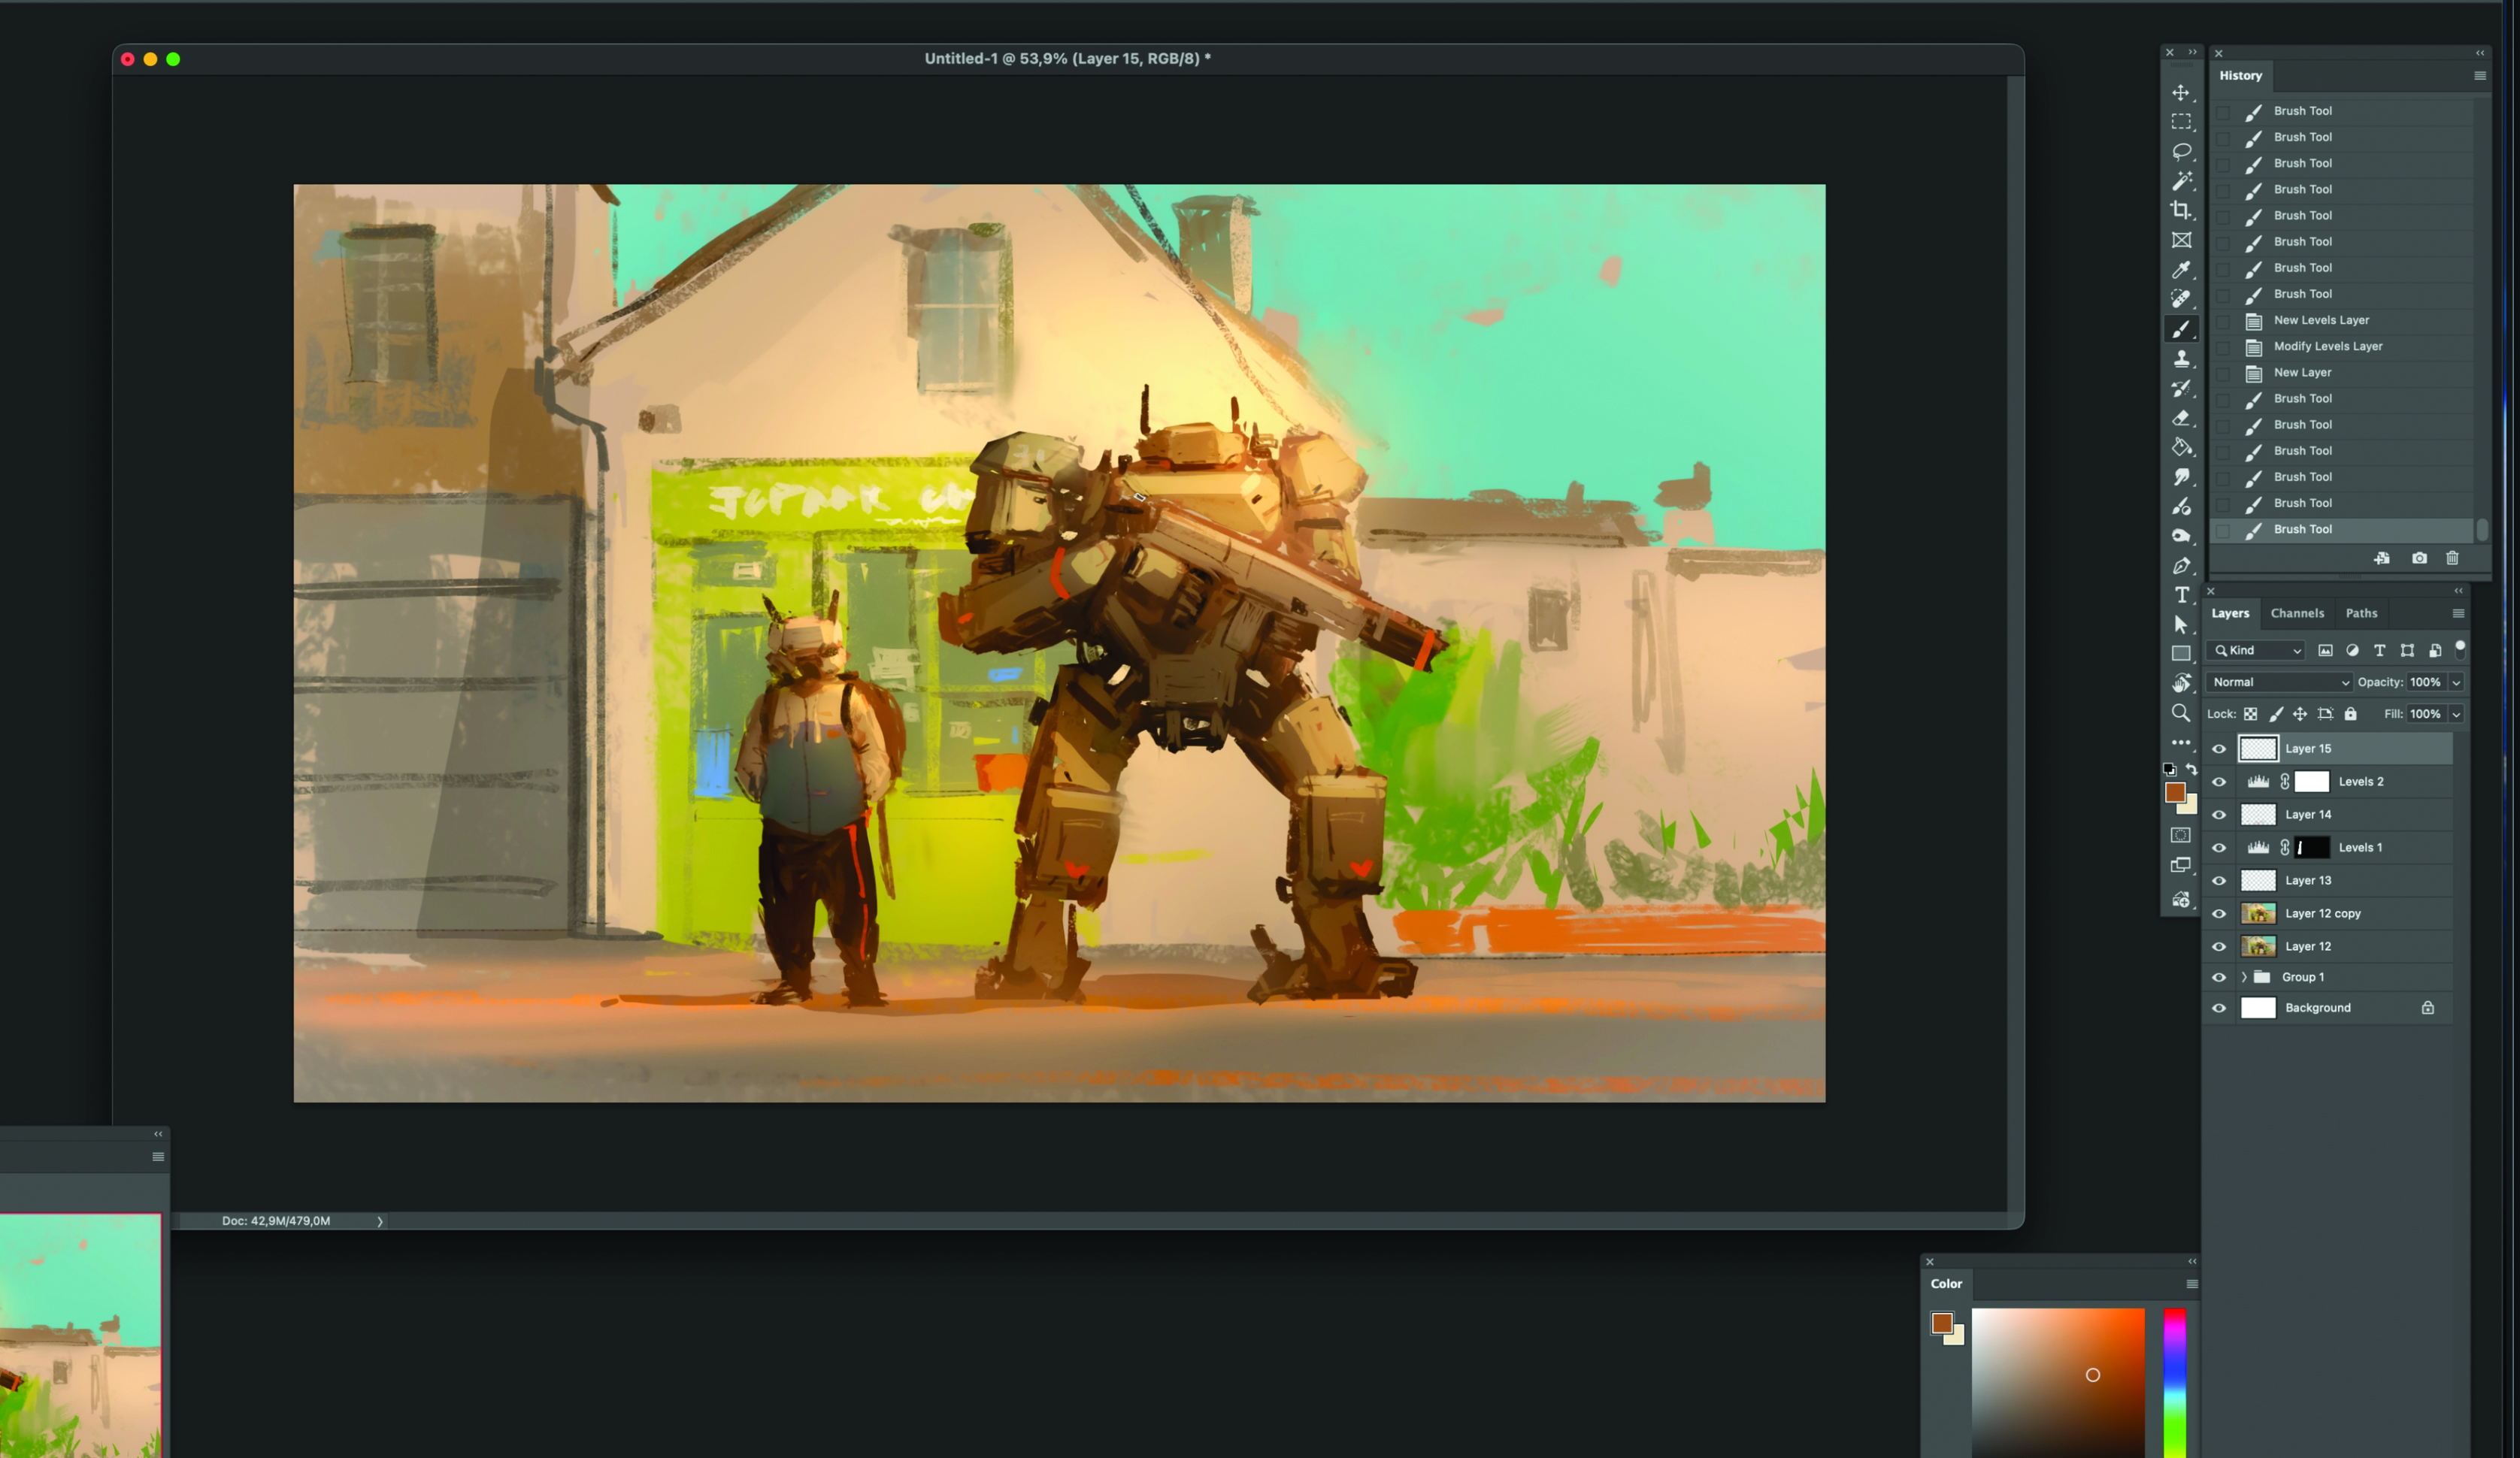
(Image credit: JC Jongwon Park) Creating a sense of overwhelming scale and believable mechanical design is one of the most rewarding challenges in digital concept art . In this tutorial, I invite you to join me as I break down the entire creative process behind my latest piece, Robot Standing. My goal is to show you how a strategic approach to composition and lighting can transform a simple idea into a powerful visual narrative. For the core concept, the heart of this session lies in mastering scale contrast. 01. Silhouettes Focus on the silhouettes to build the overall shape. Use a tone slightly darker than the background, avoiding too much contrast. Don’t worry about specific details for now – just quickly capture the silhouettes of the two characters. To avoid the added stress of colour, stay in monotone and focus purely on form. Pay close attention to the size difference between the characters and focus on creating a harmonious standing pose.…